Kim’s basement reno
Two days ago I put the final coat on the basement stairs; a job that has been hanging over me for months. I’m bloody delighted with myself! The longest everrrr basement renovation is finally coming to an end. Of course growing and birthing a little human has been a big factor in the delay, but sure let’s not make any excuses. Fact is, we’re done. Well, a nice rug, then we’re done.
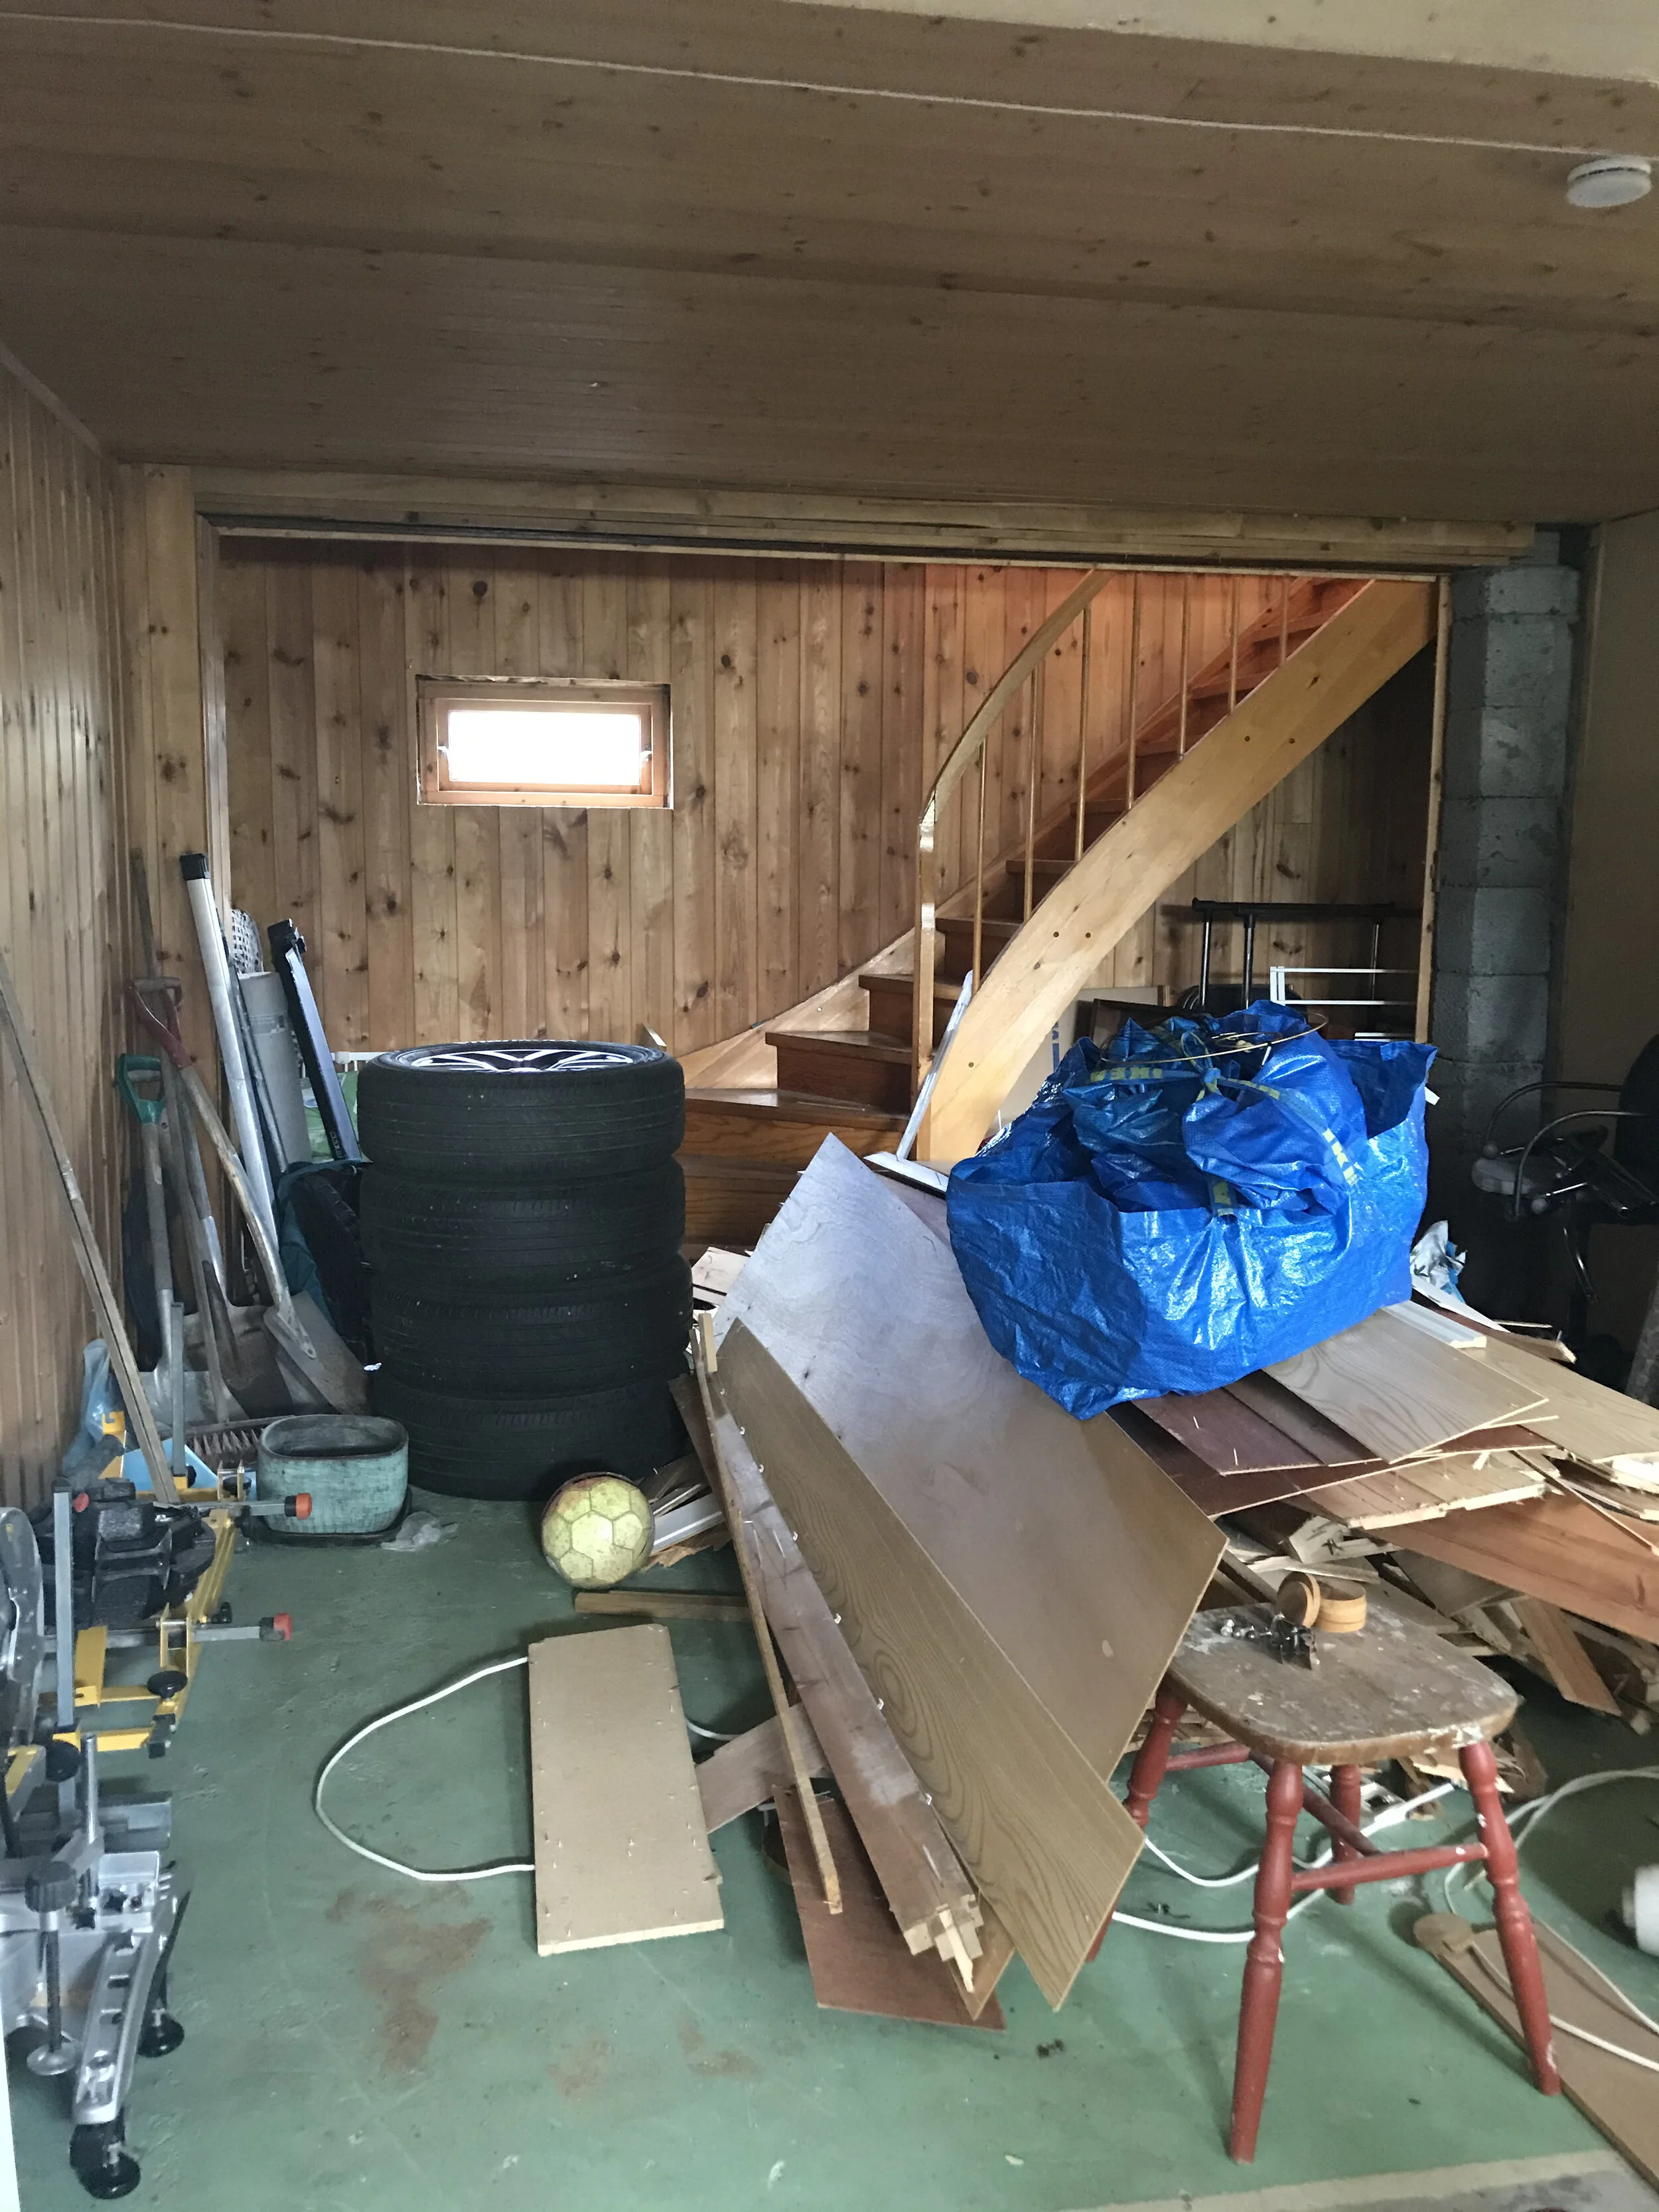
We started back in July. Up until that point the basement had been used as storage; or abused as storage I should say. Like, there was no system. Stuff was literally flung down the stairs and the door closed. Terrible. But since we bought the house, we’ve had plans to renovate the basement. With the baby due in October, we had a ‘finish date’ to work towards - for the heavy work at least! Finish dates are something I’d absolutely recommend by the way. Write it down, circle it on your calendar, hang a post it on the fridge. Keep it in mind!
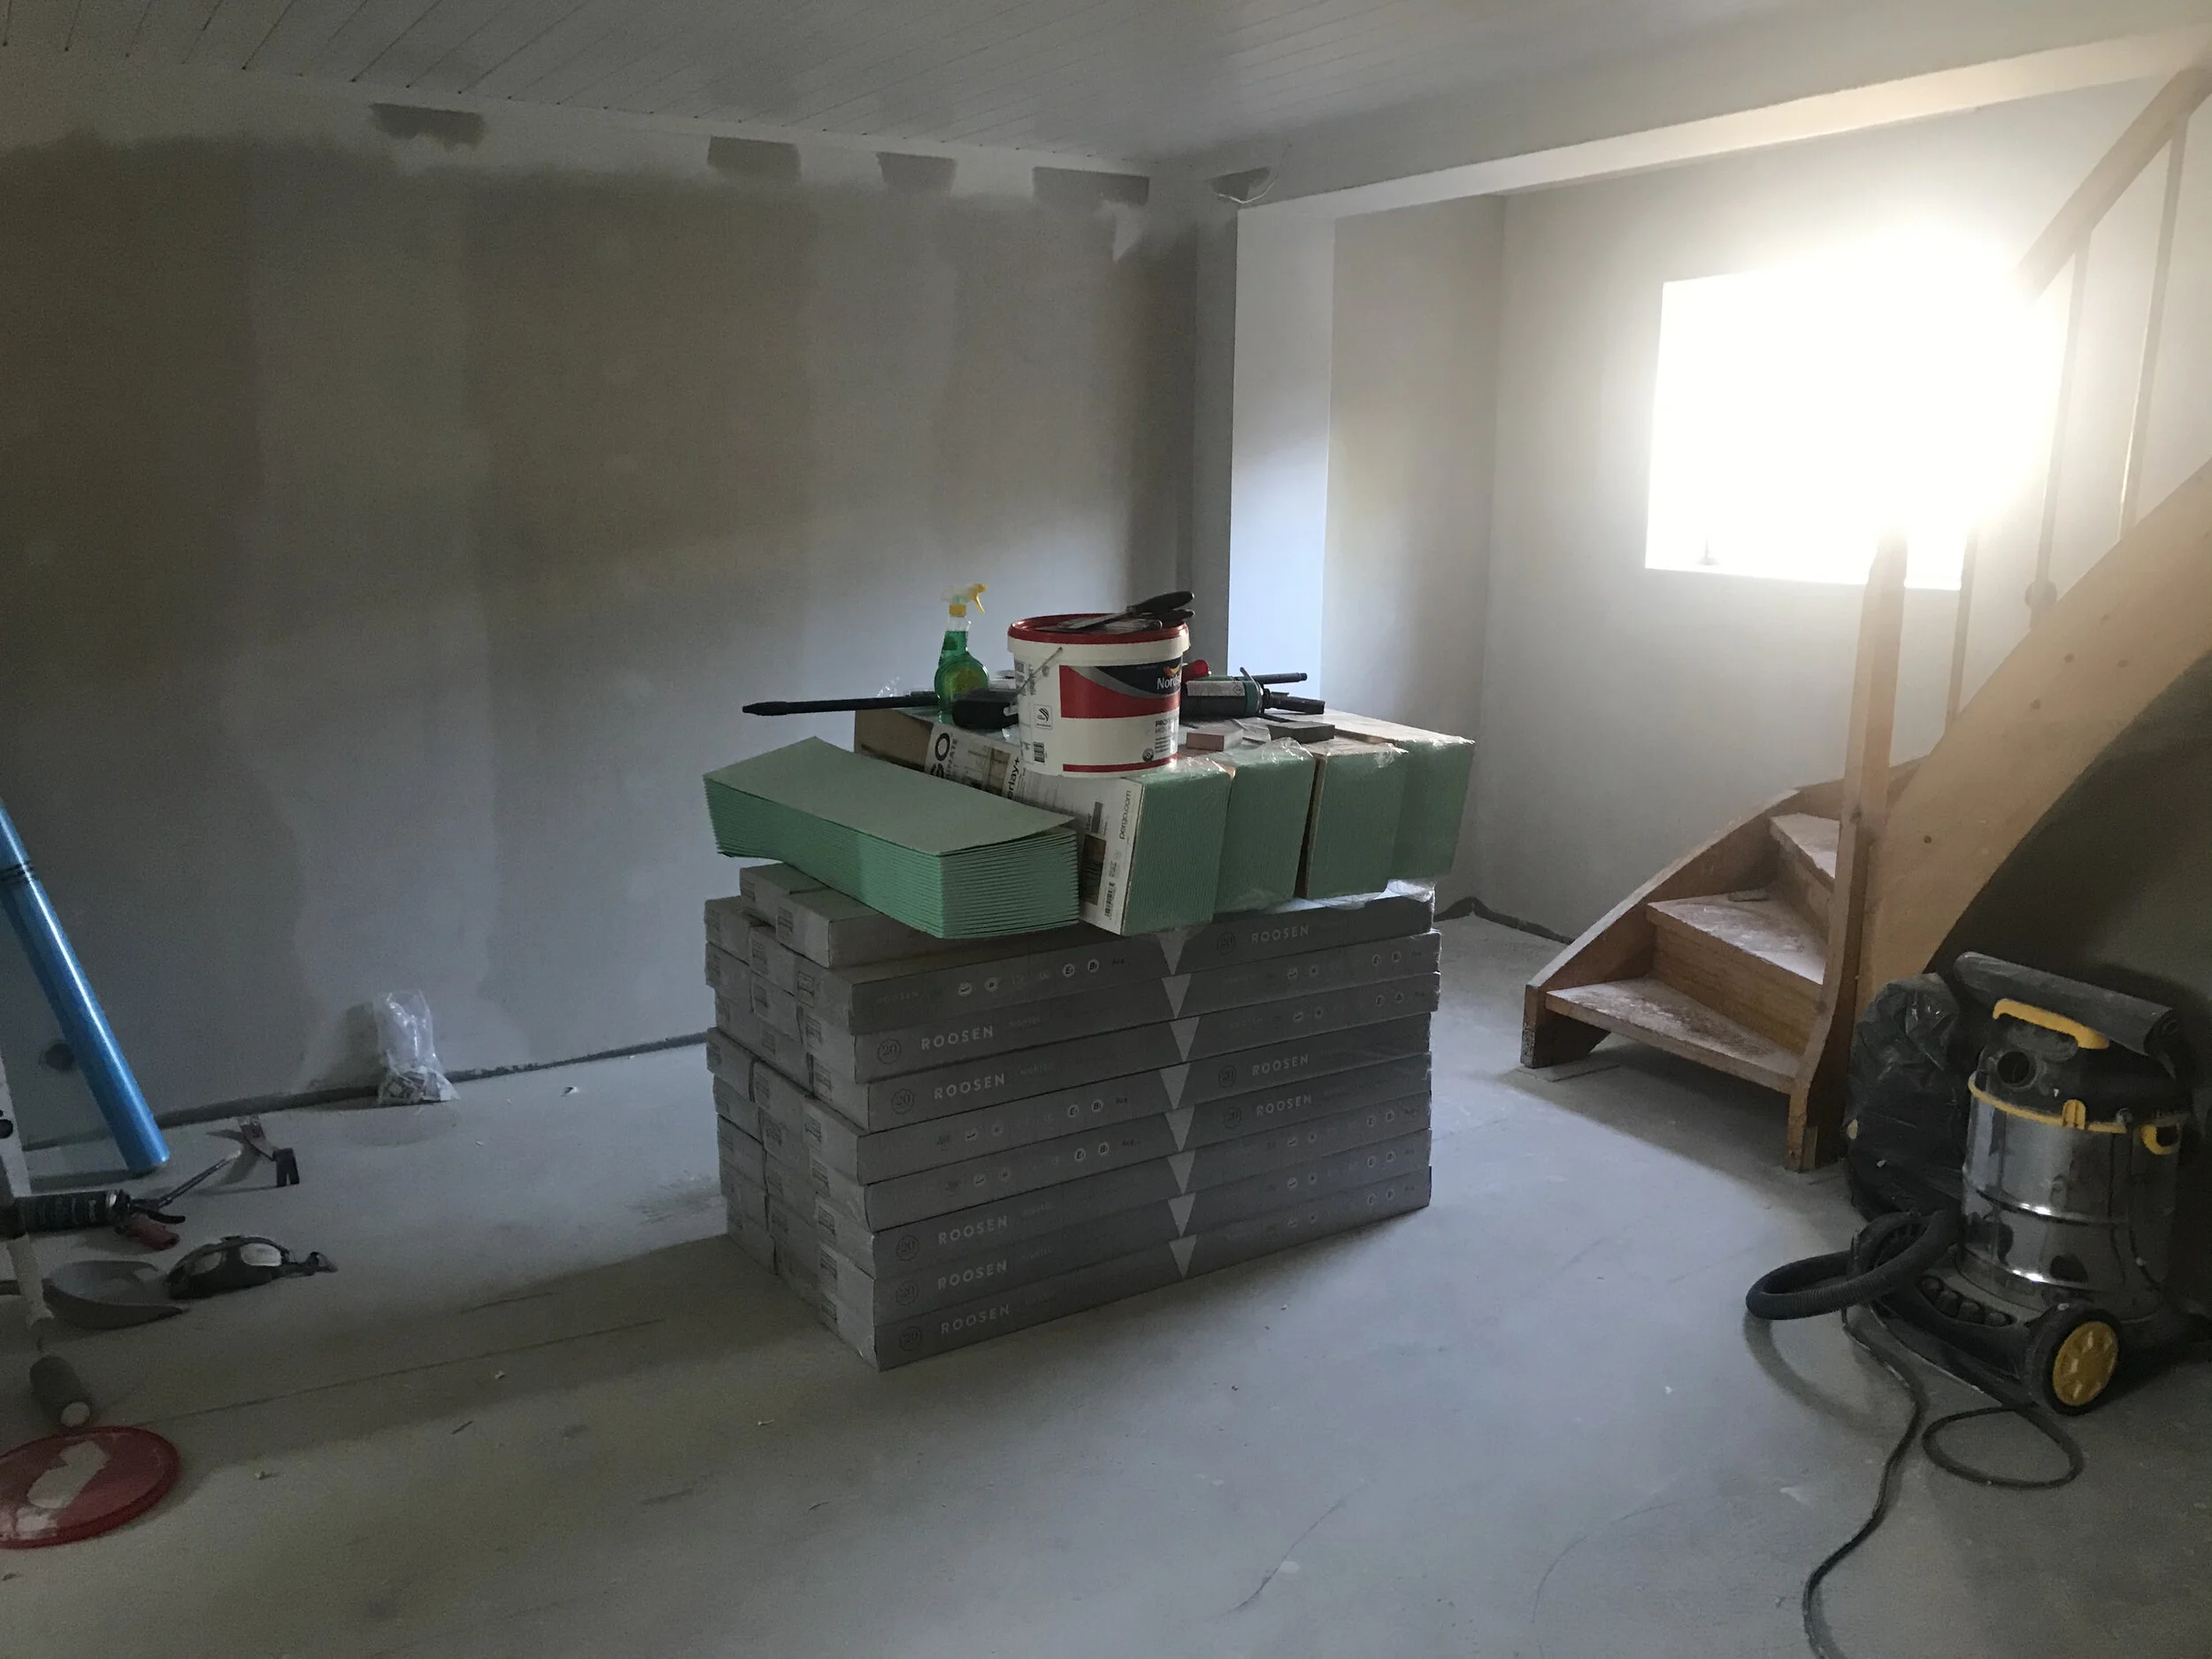
So this is what we started with.
This is how the basement looked BEFORE…
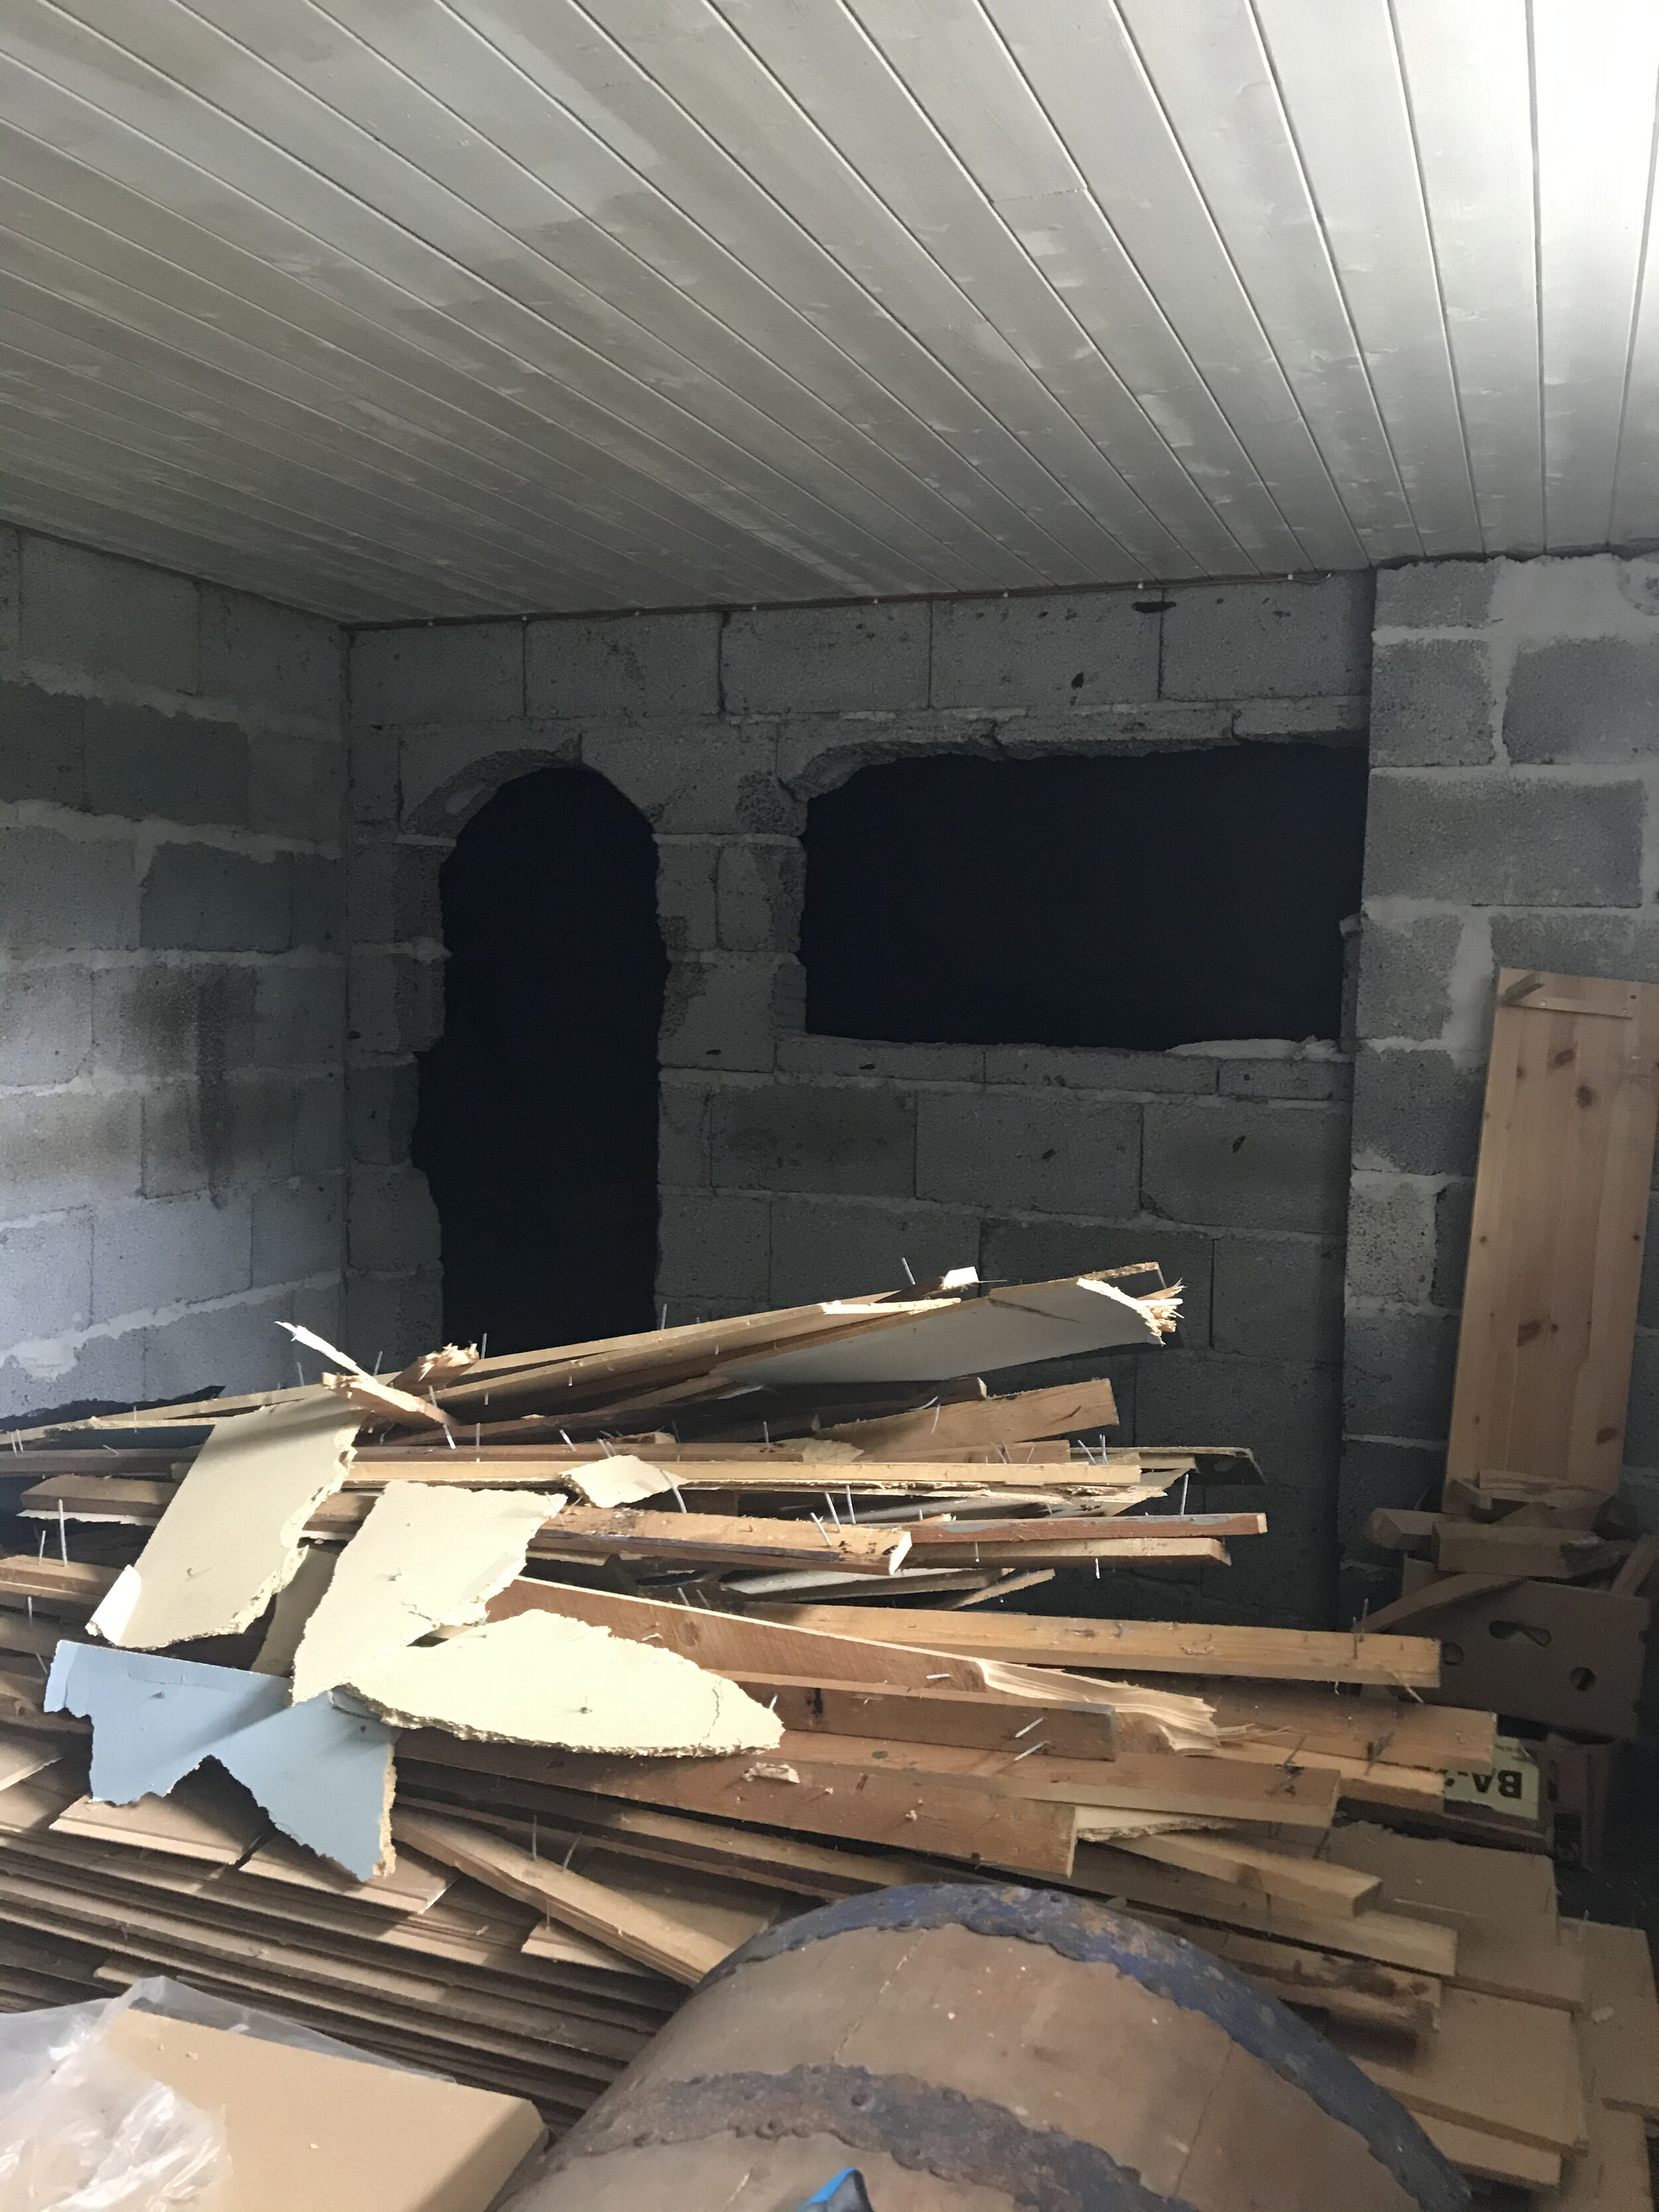
Demolition was pretty quick, but my god there was so much panelling to be binned.
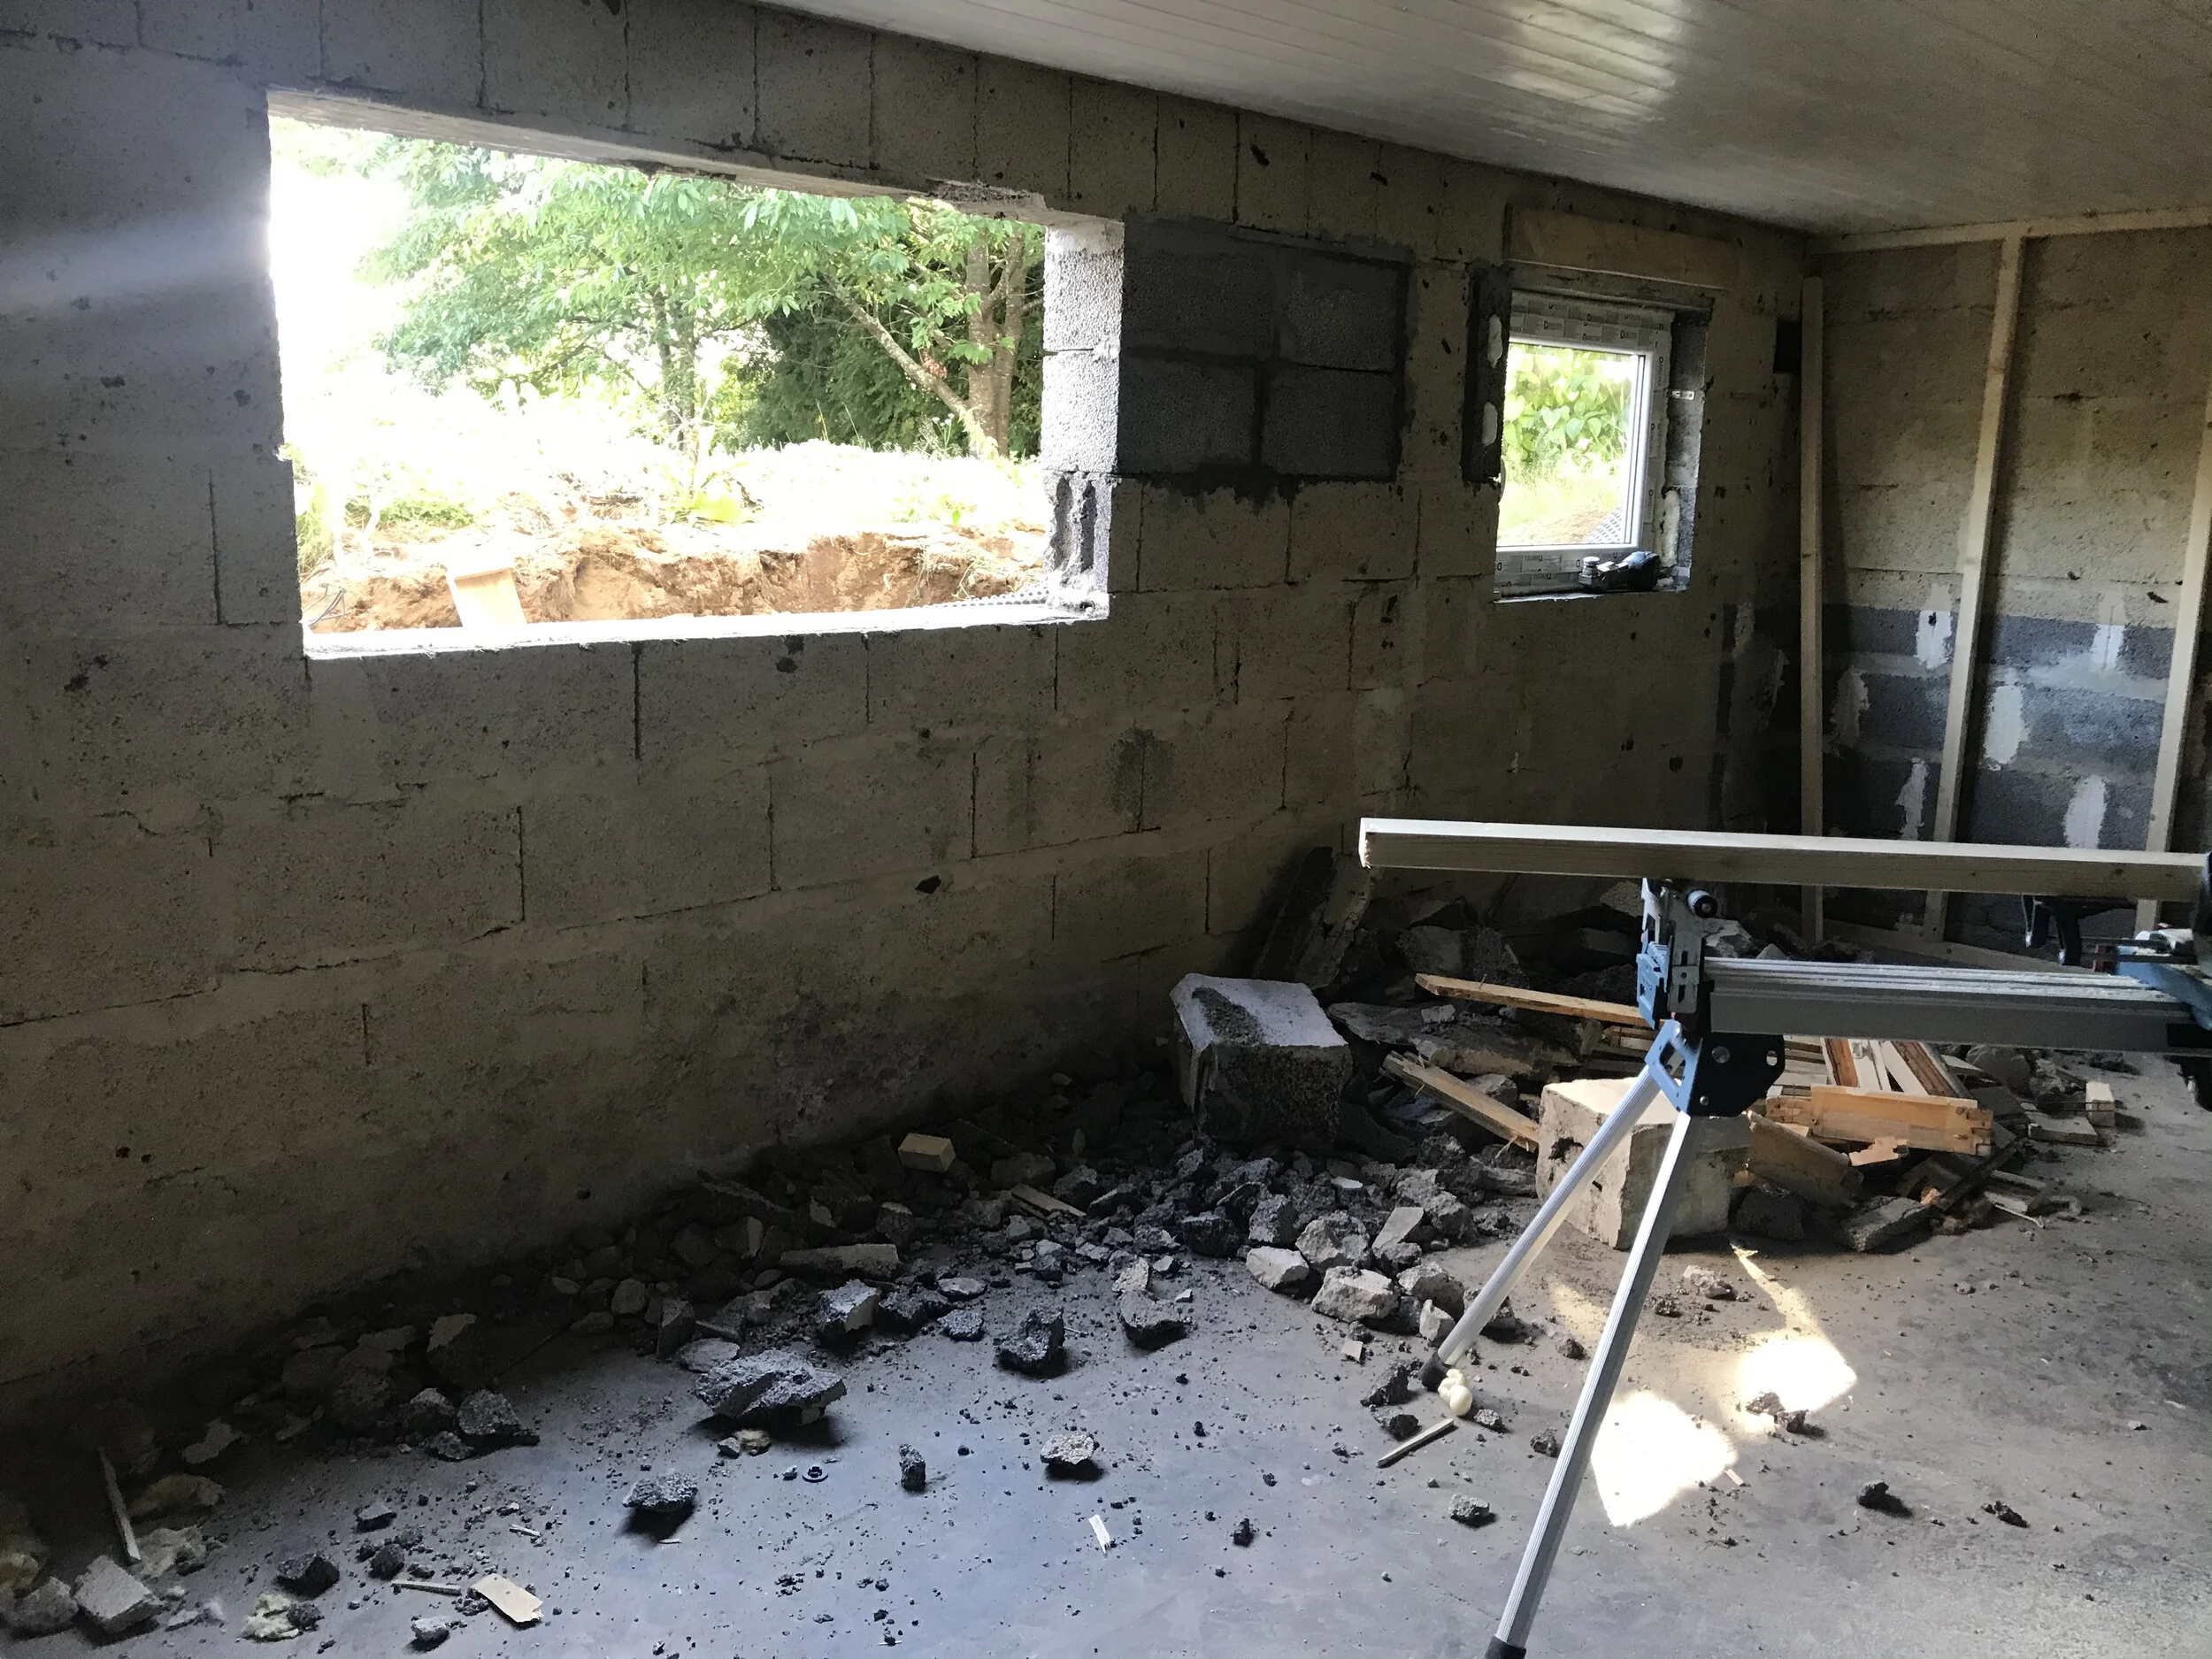
As it came down we found all sorts of weird cut outs for old windows and doors, which gave us all sort of new ideas, but we decided to stick with the plan.
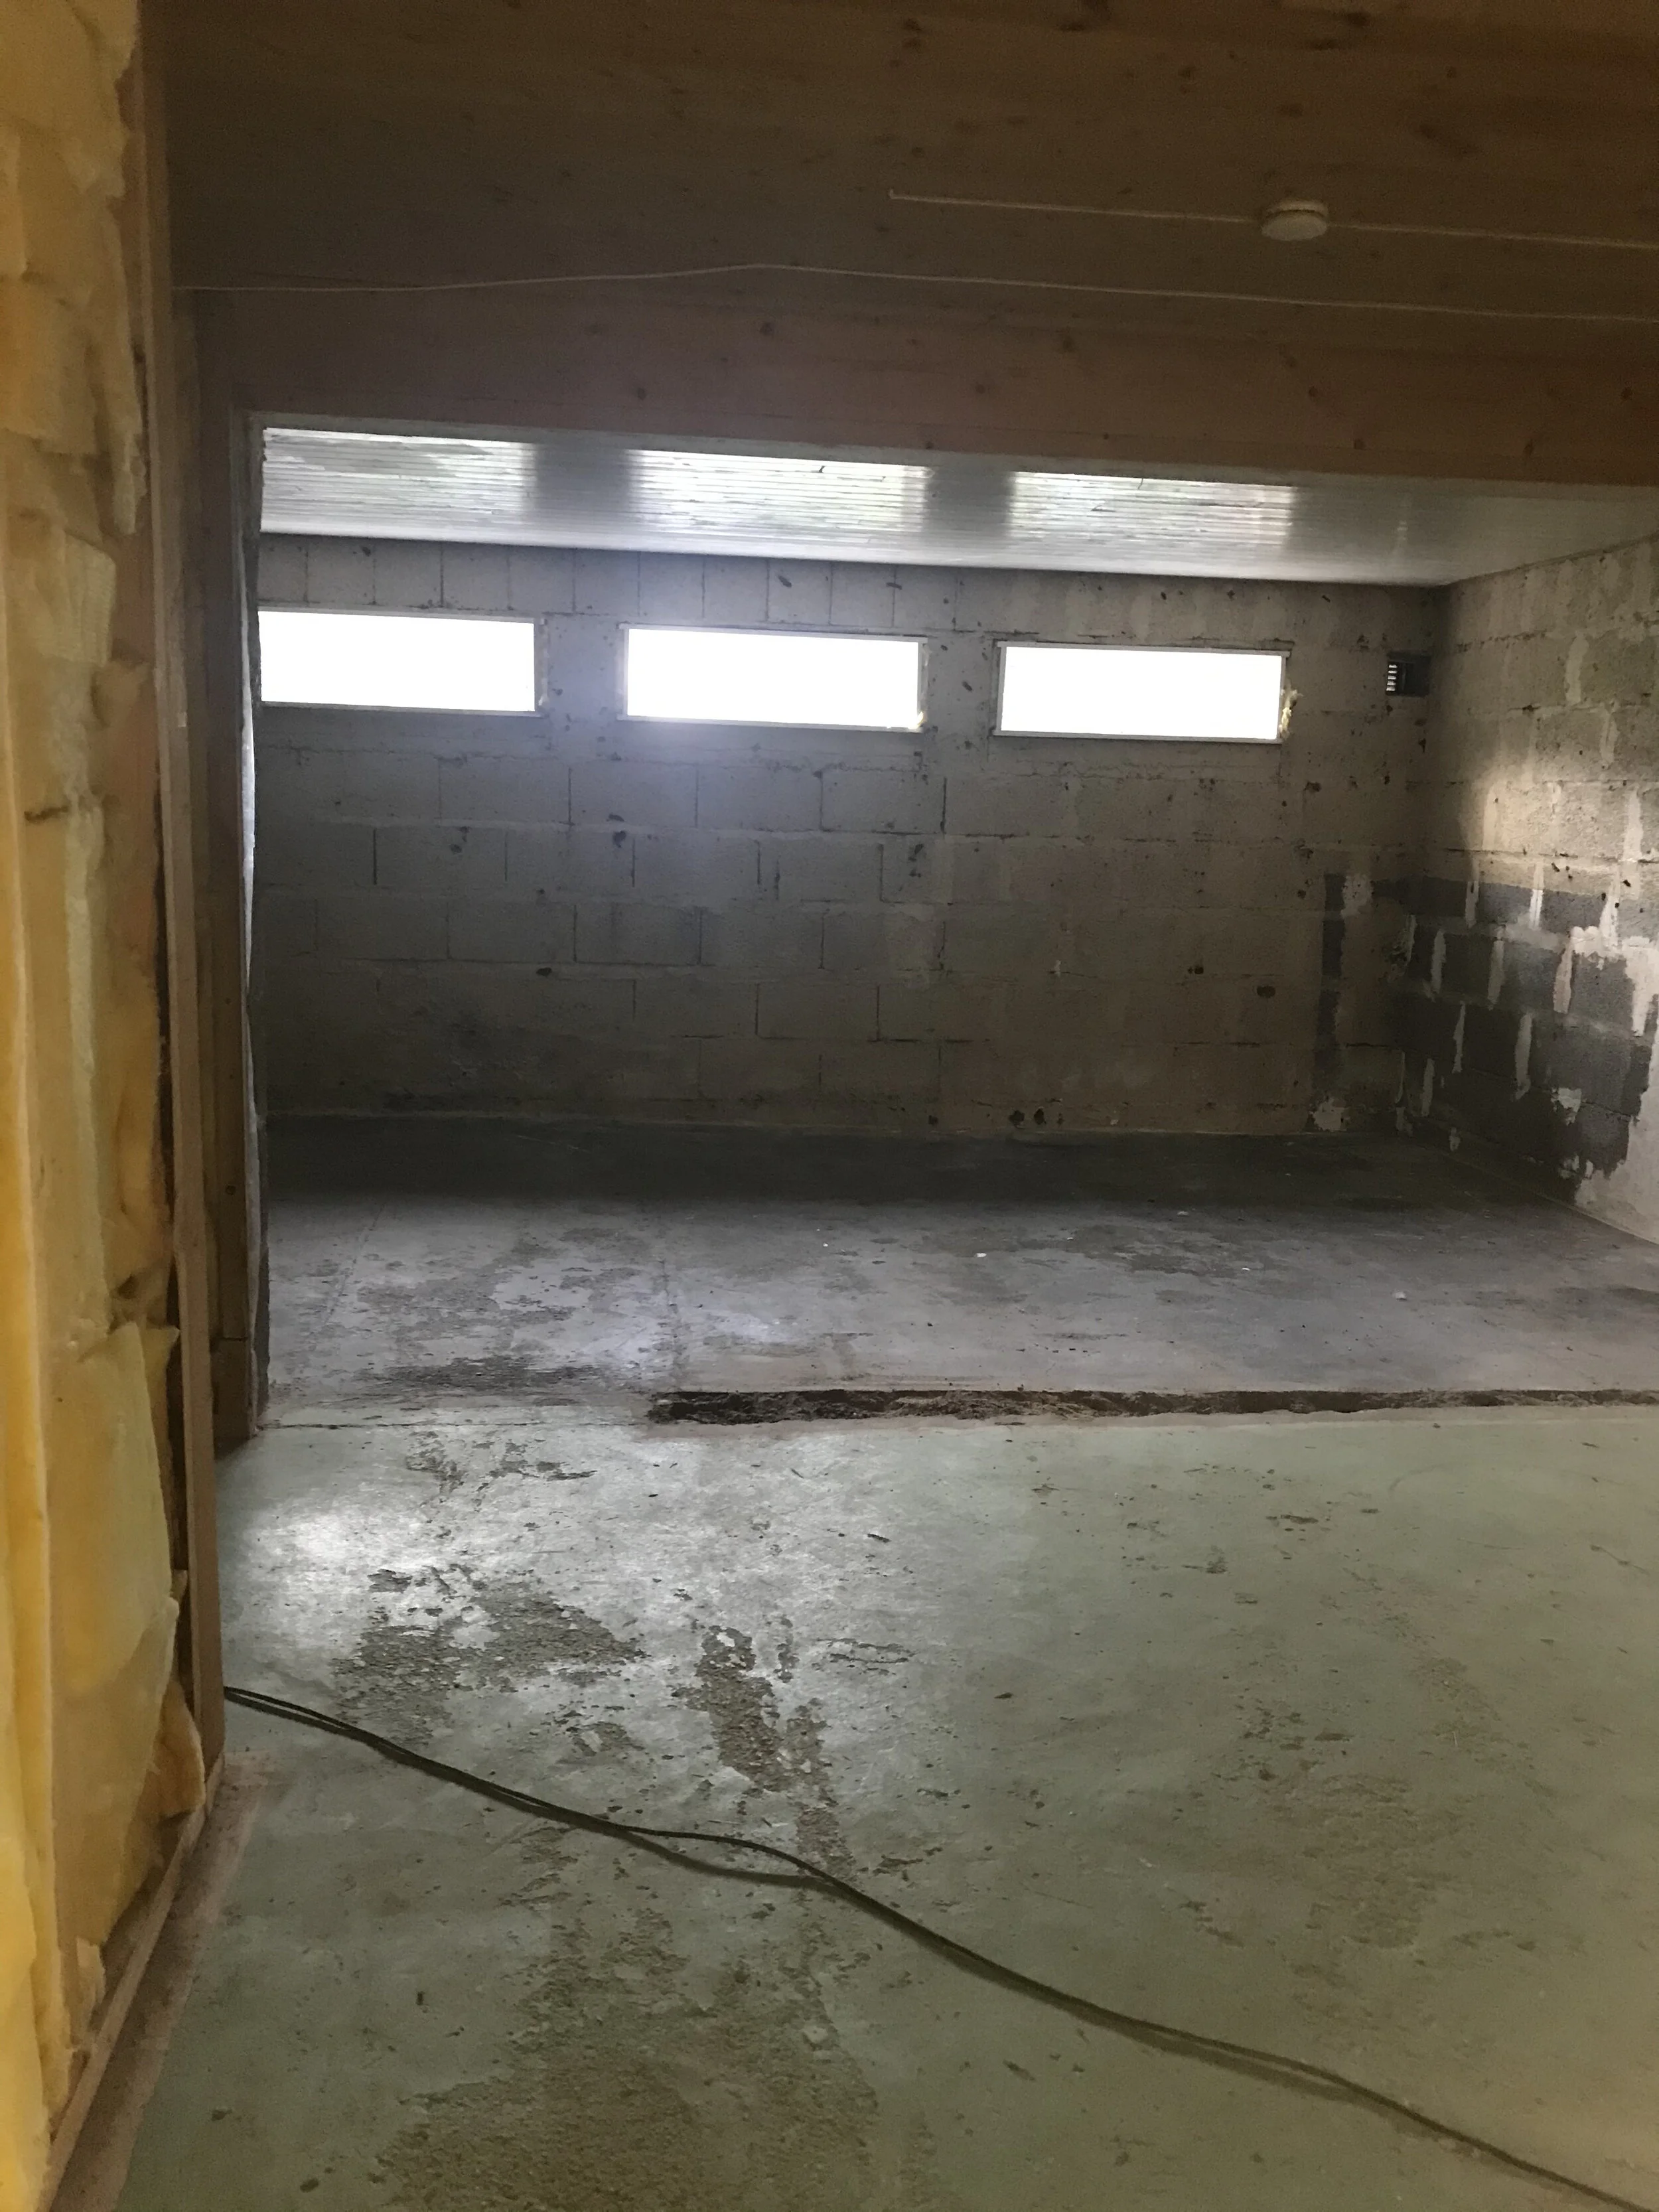
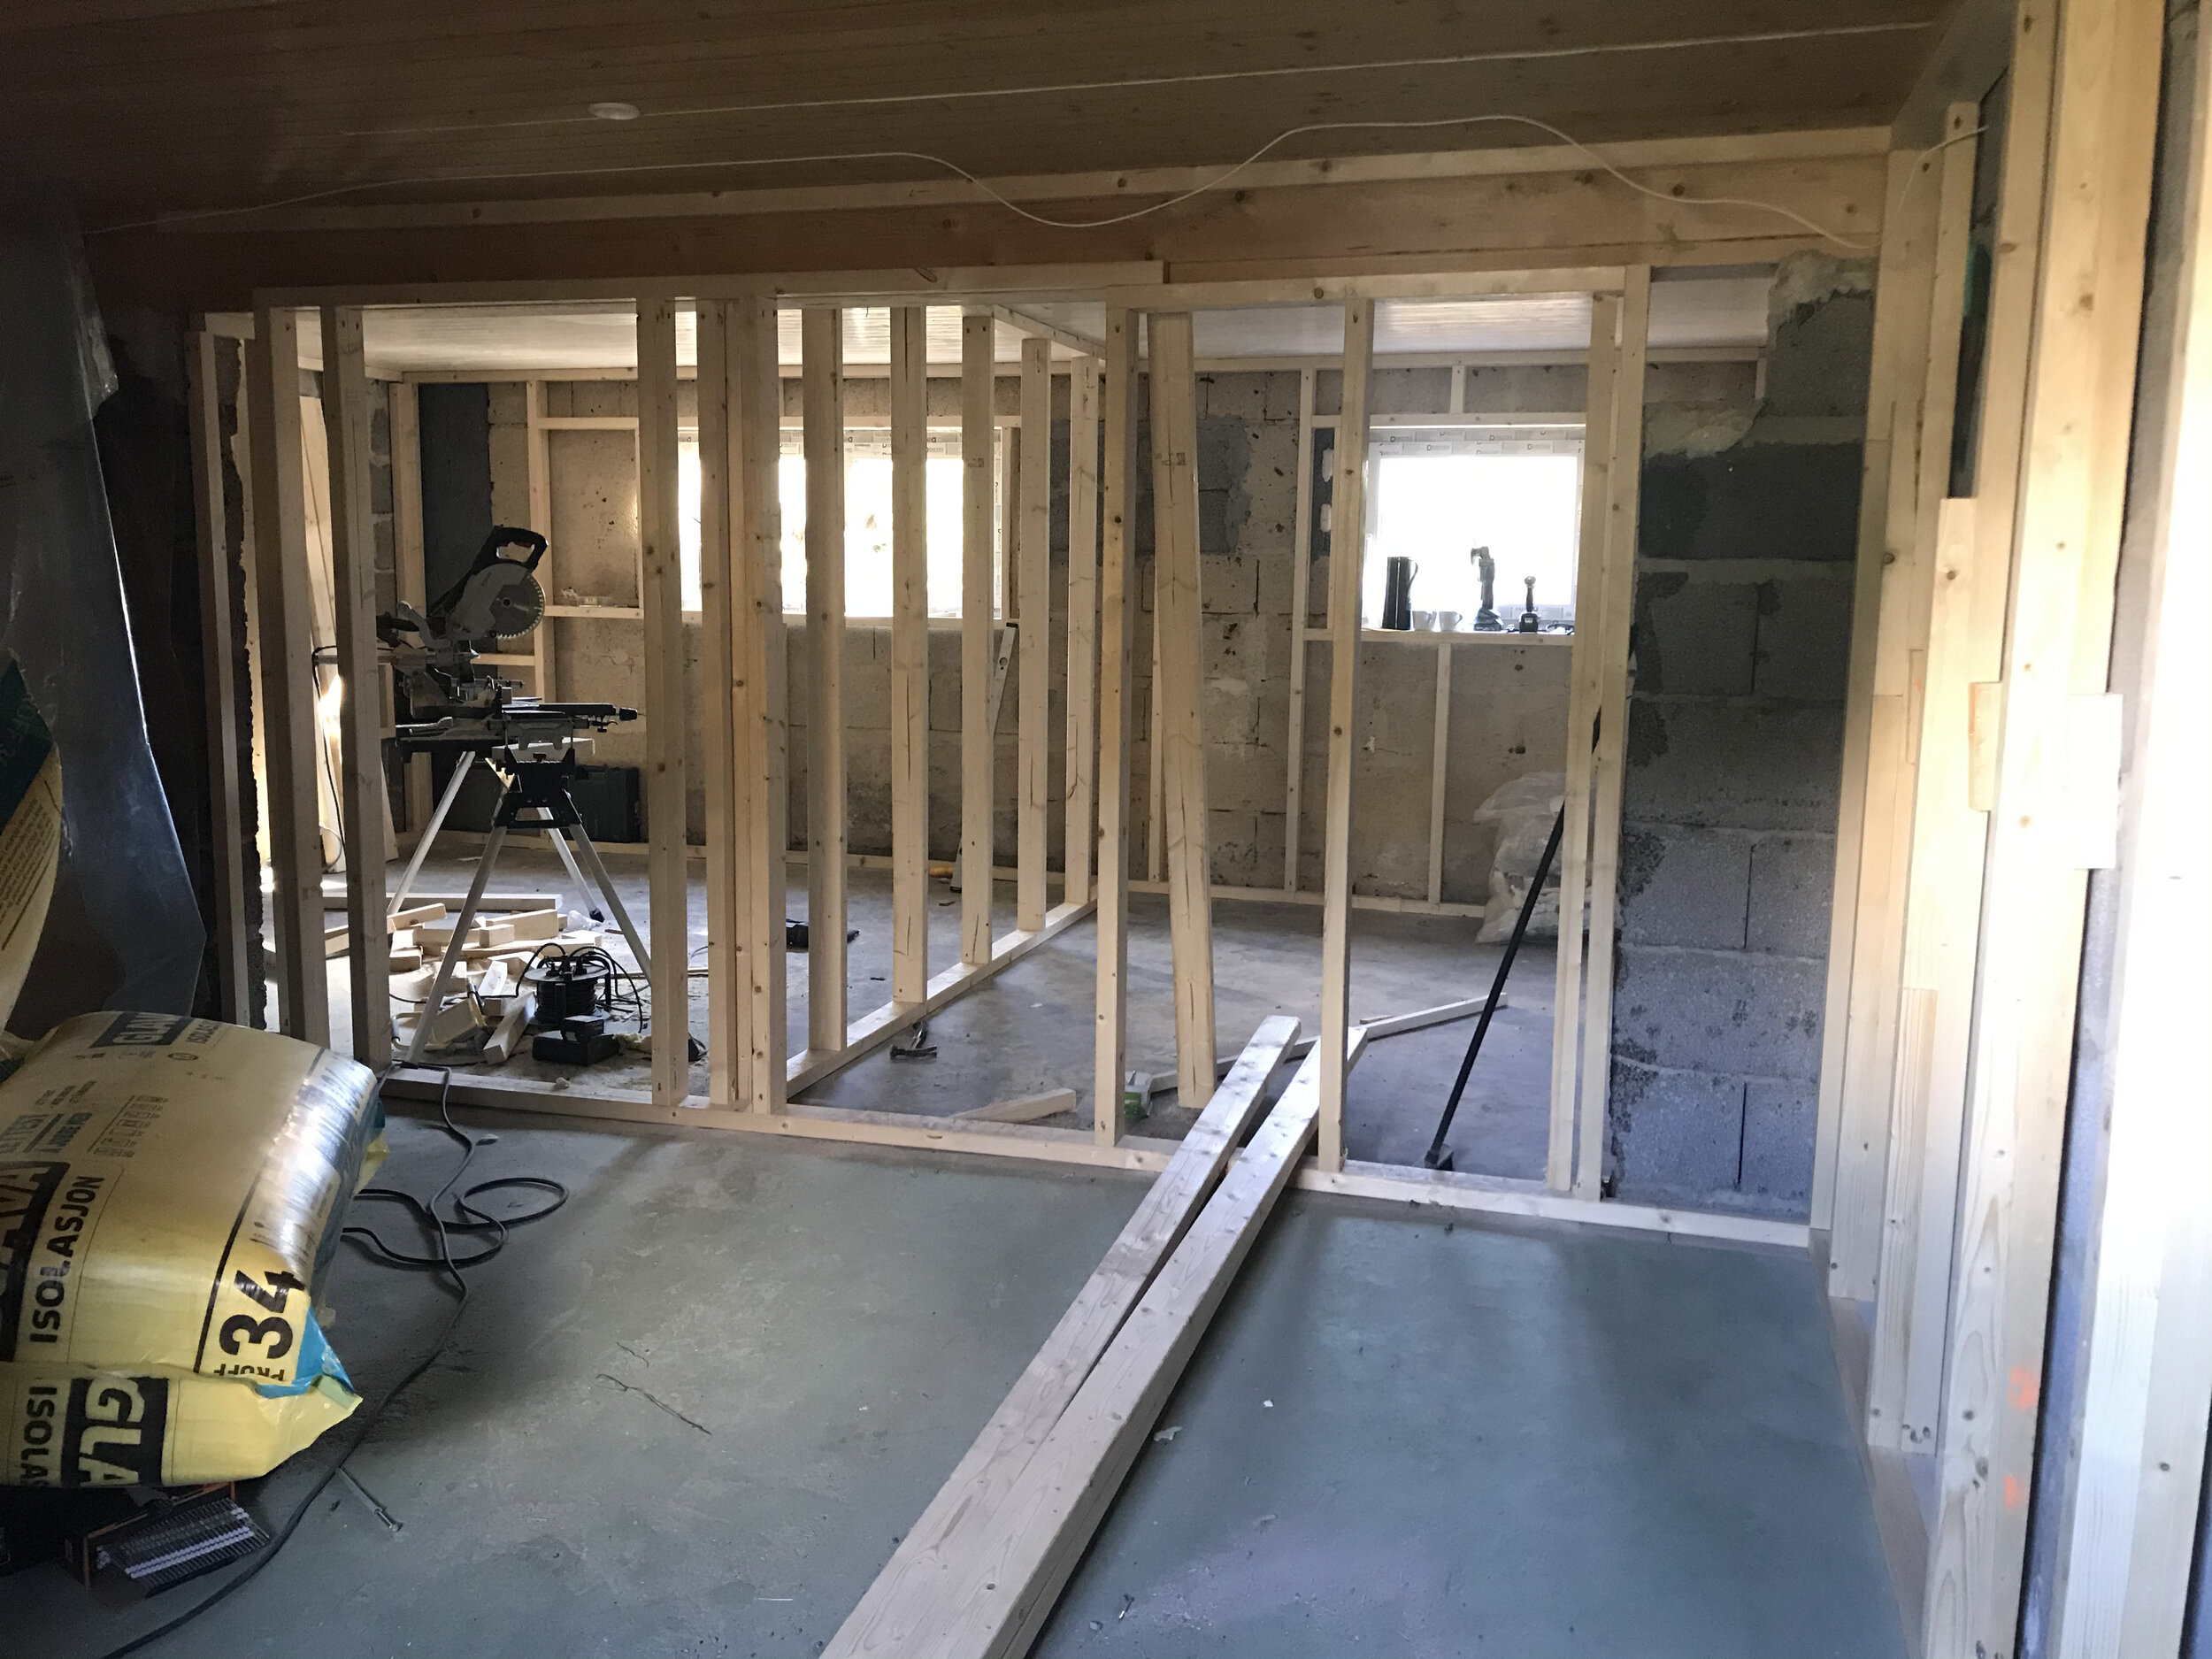
Our plan for this part of the basement was to make a living room and two bedrooms; a master and a smaller room for the nursery. We started in July; all the junk was thrown out or given a proper place, the walls were stripped and old windows removed.
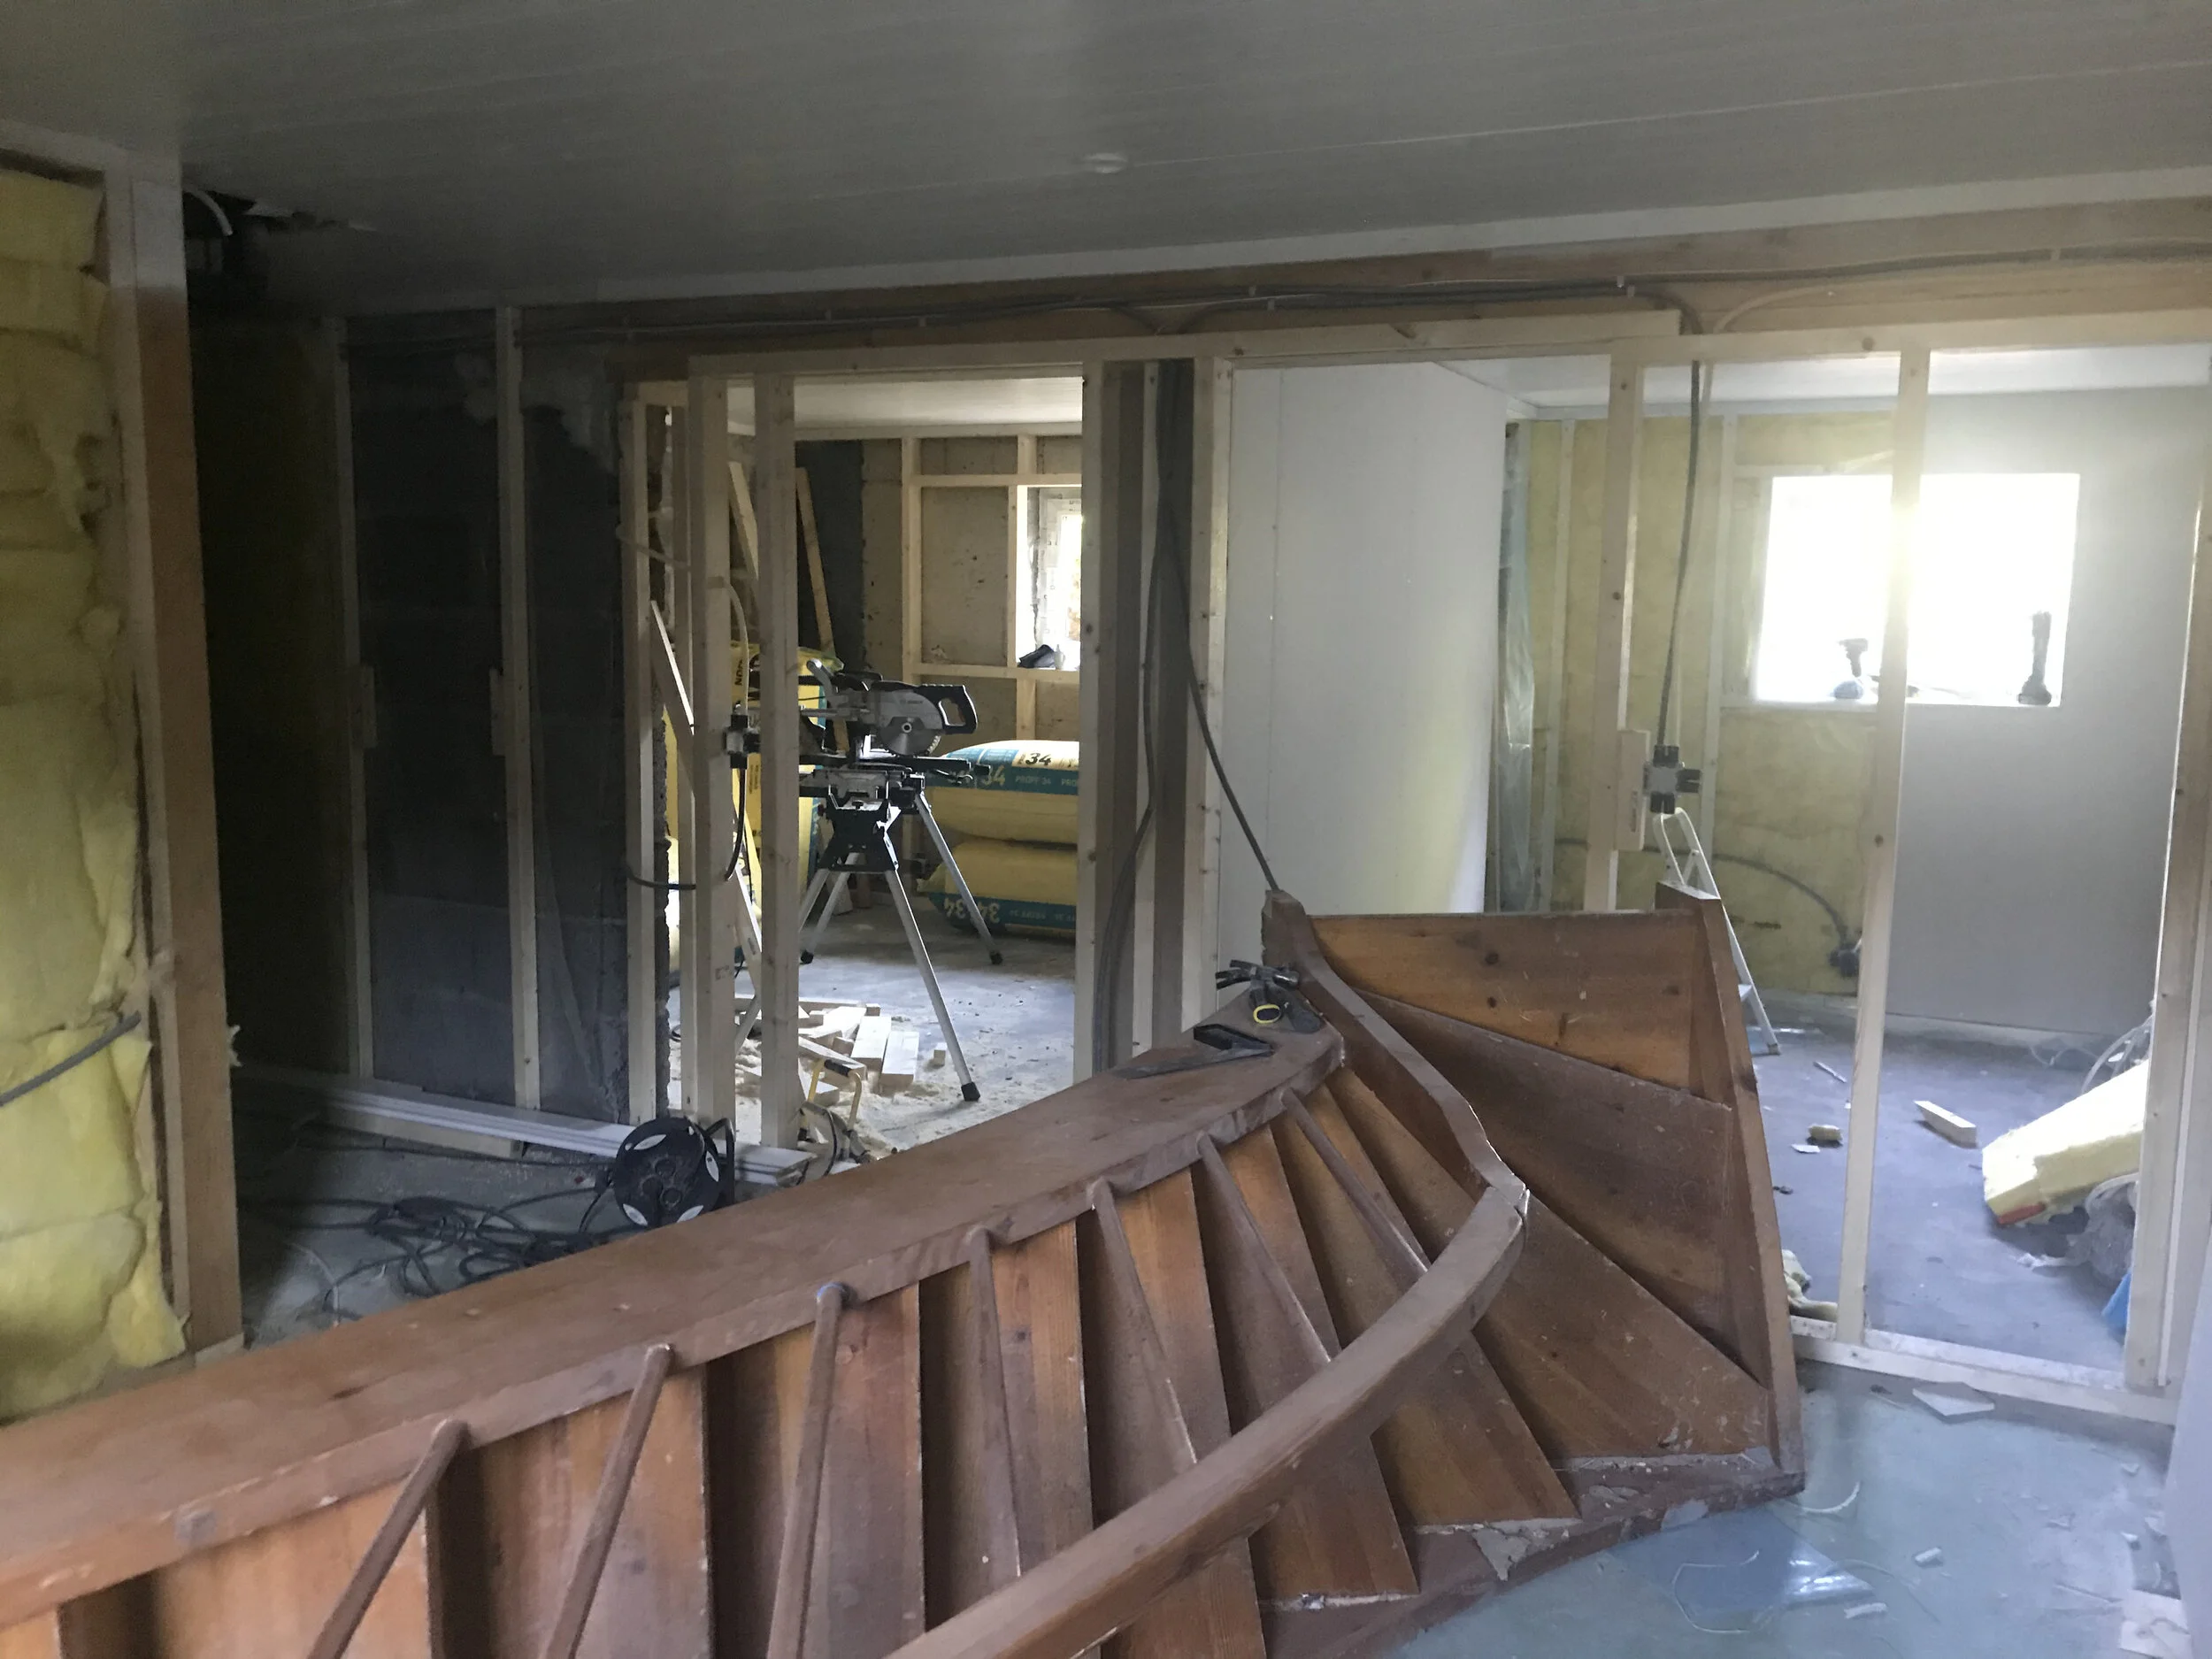
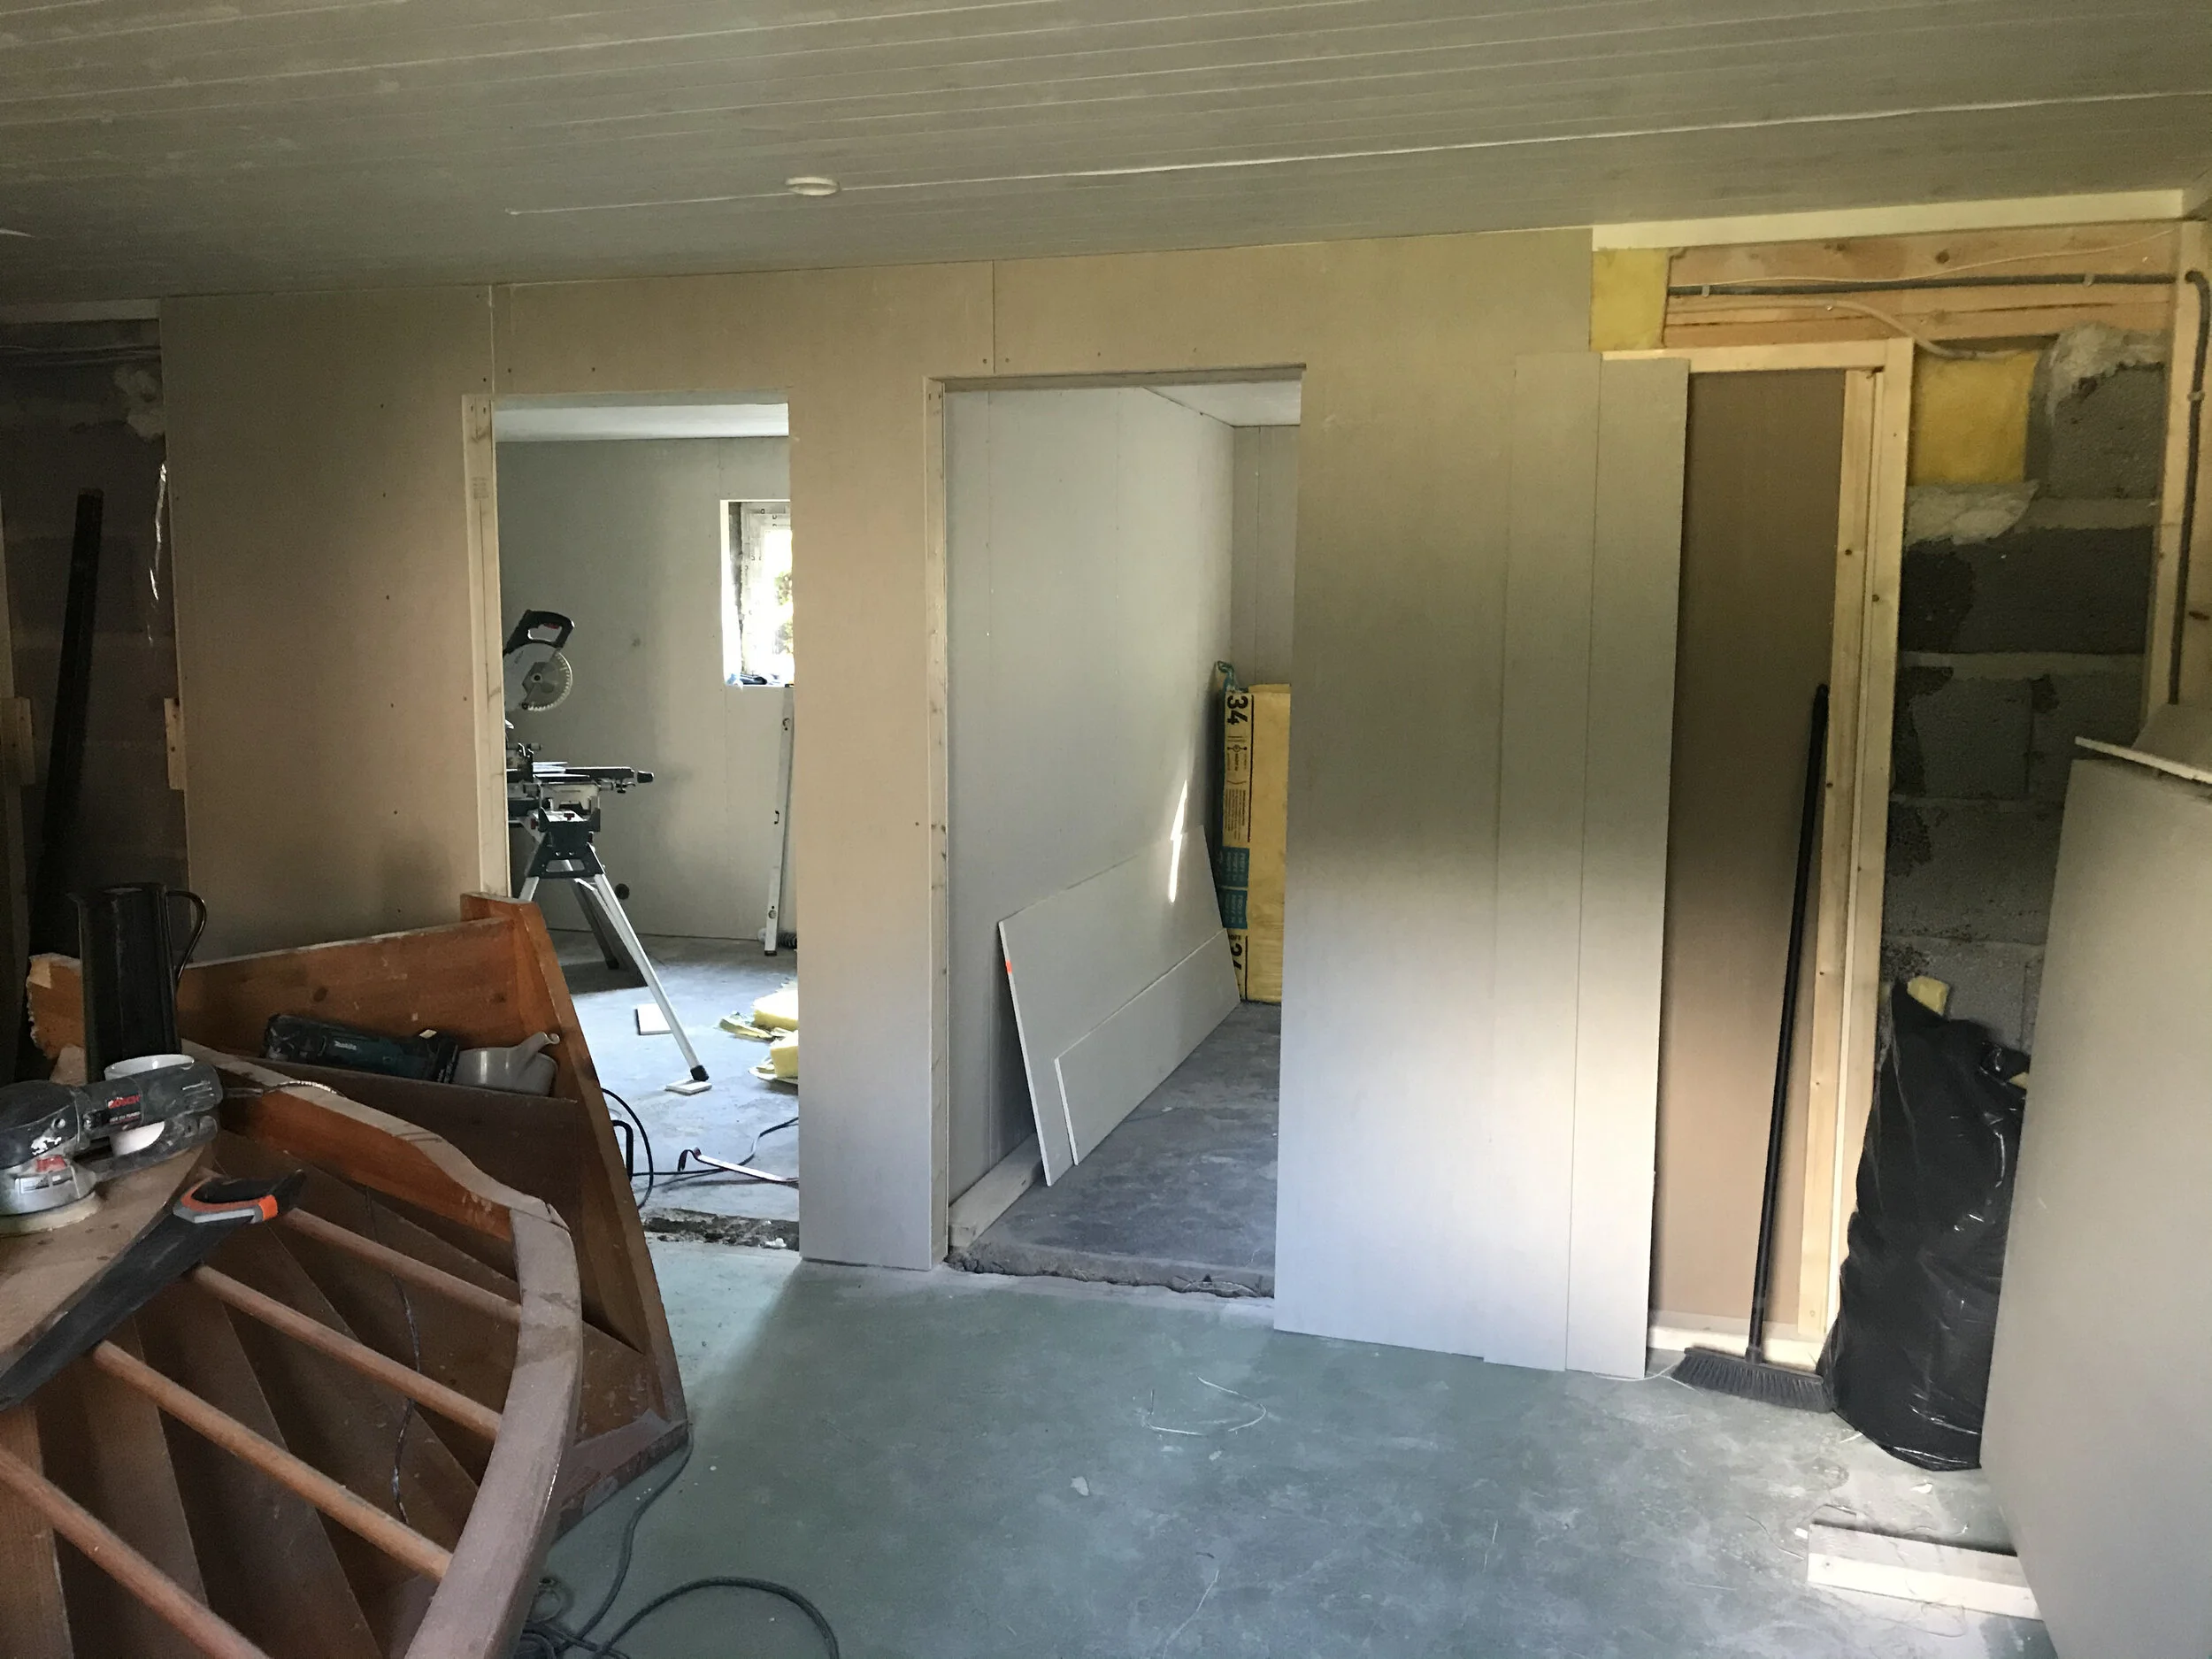
The walls were insulated the whole way round and new drywall put up. The stairs were removed temporarily to insulate behind them. The floors were levelled and we went for a pale laminate to make it as bright as possible. New light fittings and sockets were installed throughout. The only thing we kept was the panelled ceiling. Everything got a lick of fresh white paint. We put new internal doors throughout, and a new external door at the top of the stairs.
By August, the final touches were being done. Skirting boards, trimmings, paint touch ups, handles on the doors. Then the fun started. The decorating.
The living room is a pretty cosy size so I wanted to keep the decor quite clean and minimal. As I mentioned, the floors are pale and walls are white. The sofa is our old sofa from upstairs. I’m manifesting a lovely new beige one (Retro sofa in Rib Creme, please and thanks!). Don’t know how smart that is with a baby, but sure let’s keep at it!
This is the living room, or a TV room more so. It’s pretty small so we’re not going to have much more than the sofa and TV/TV unit in here.
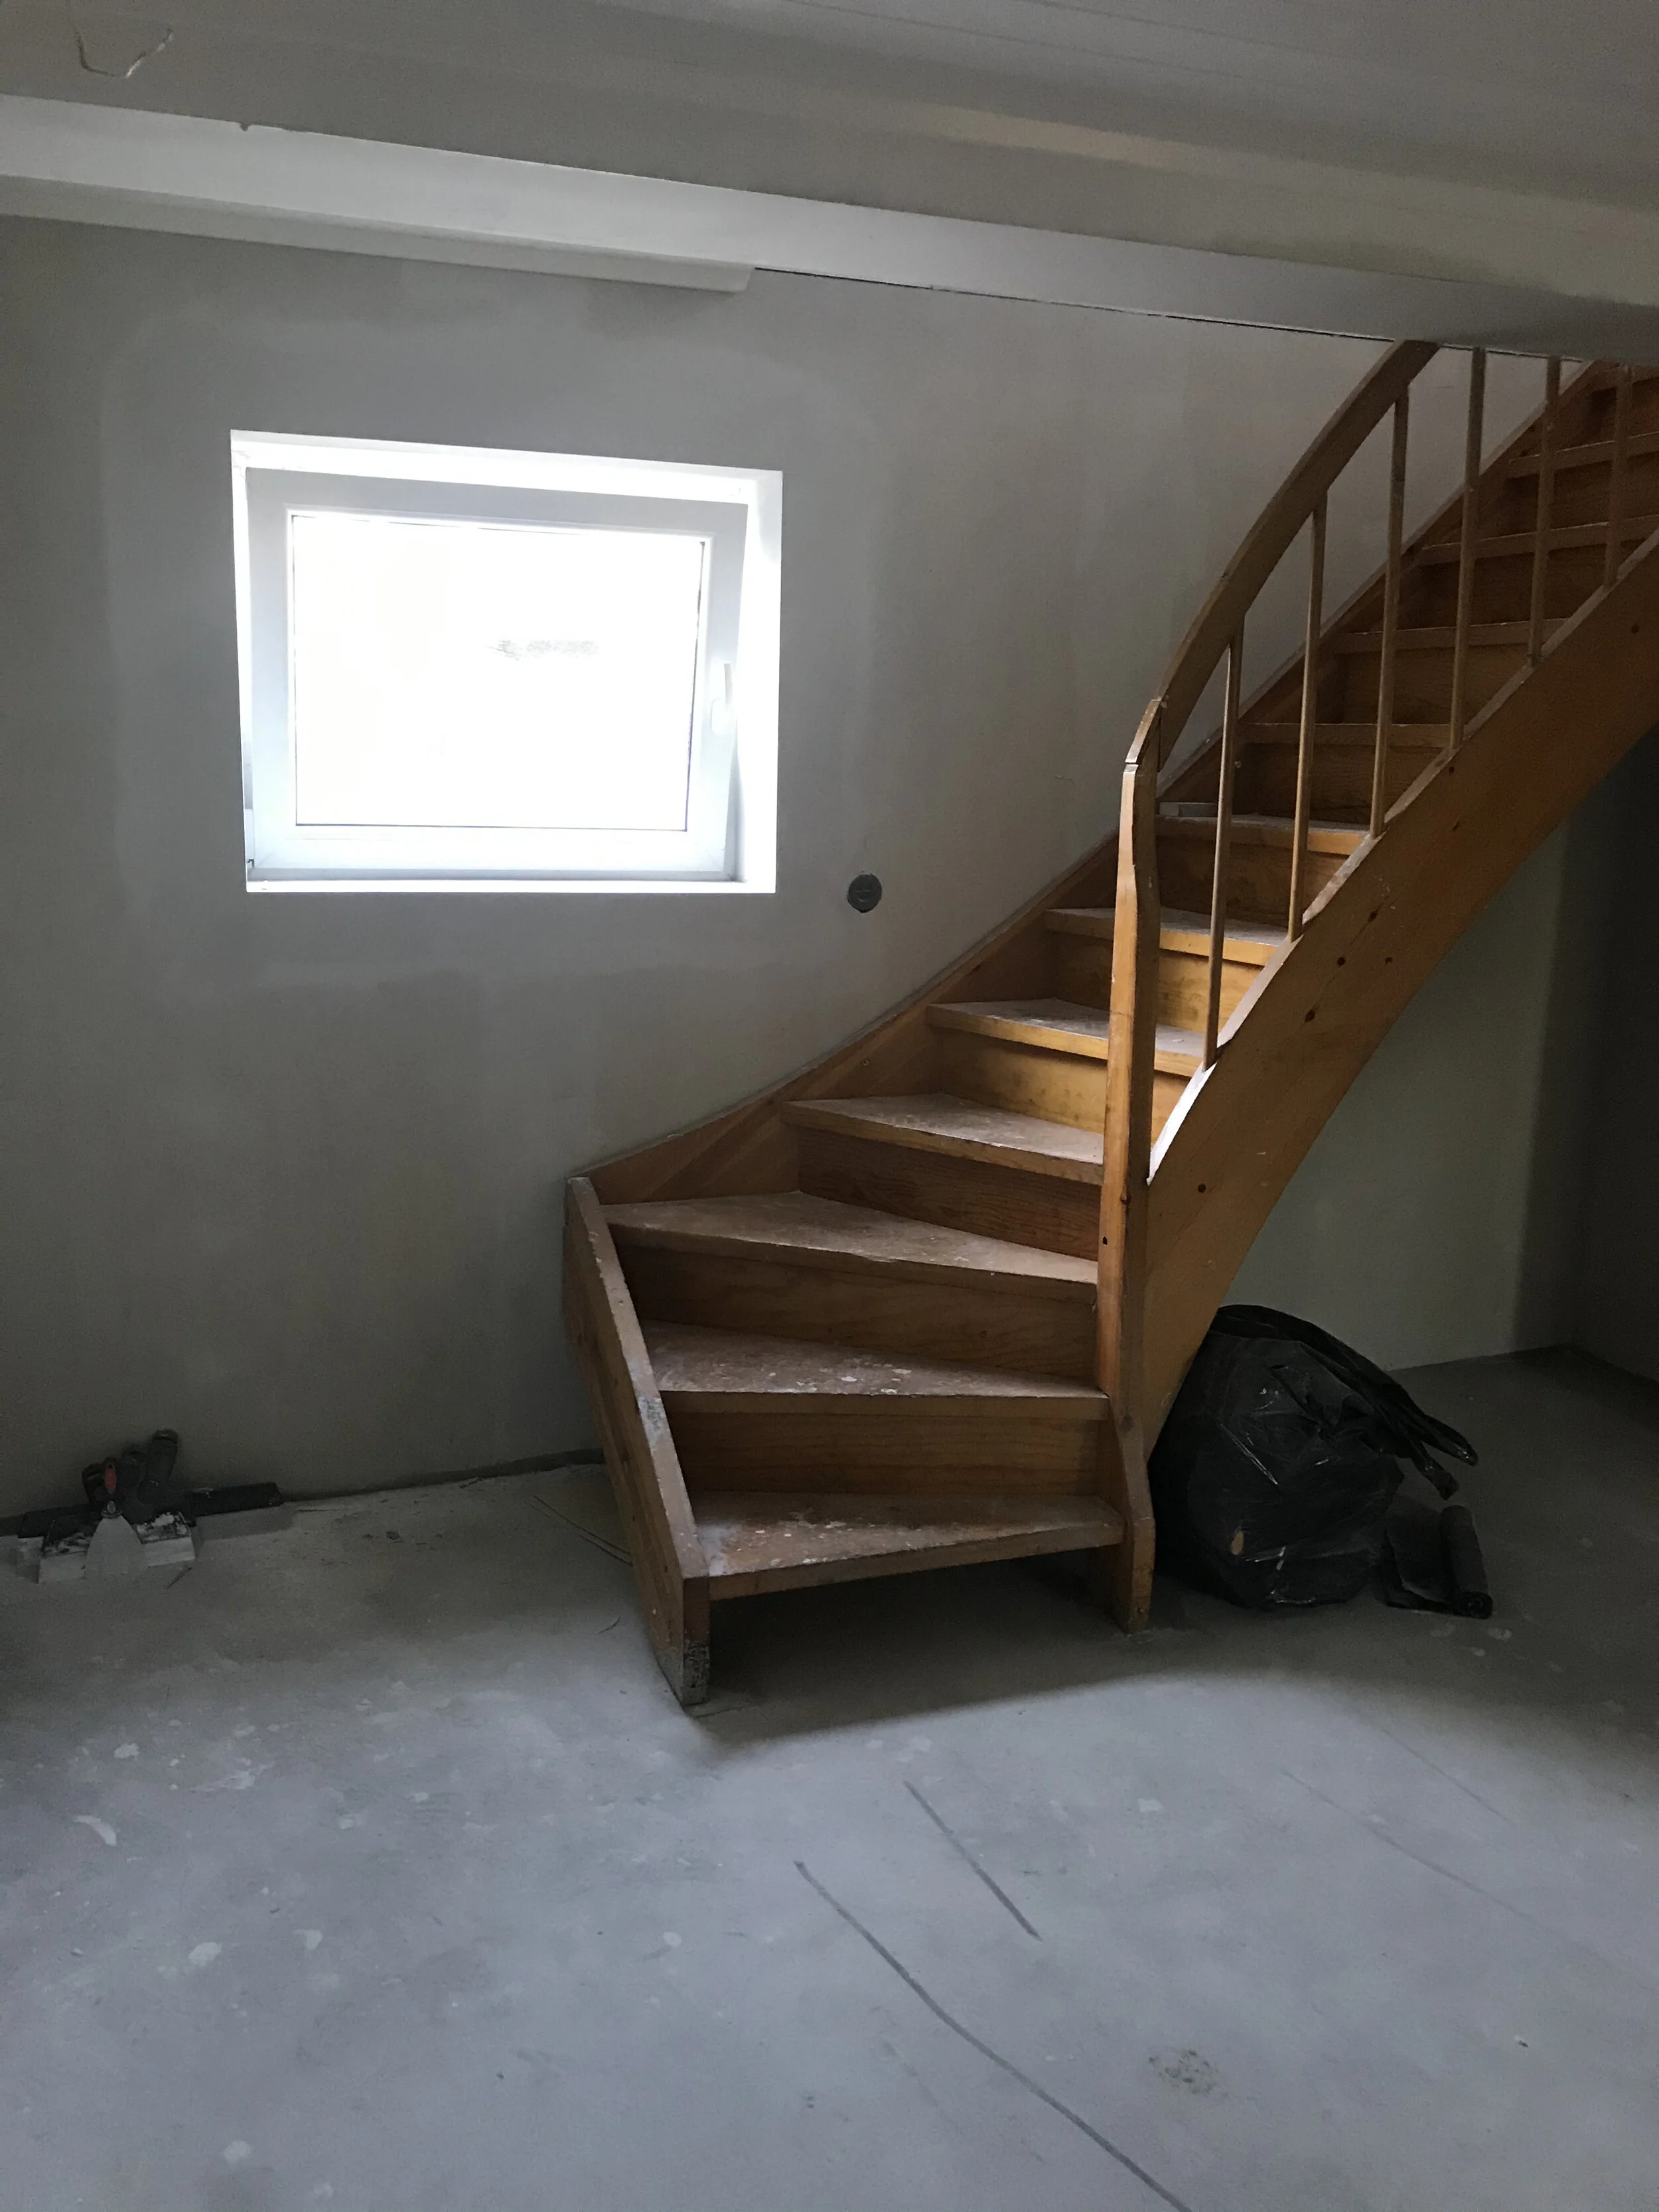
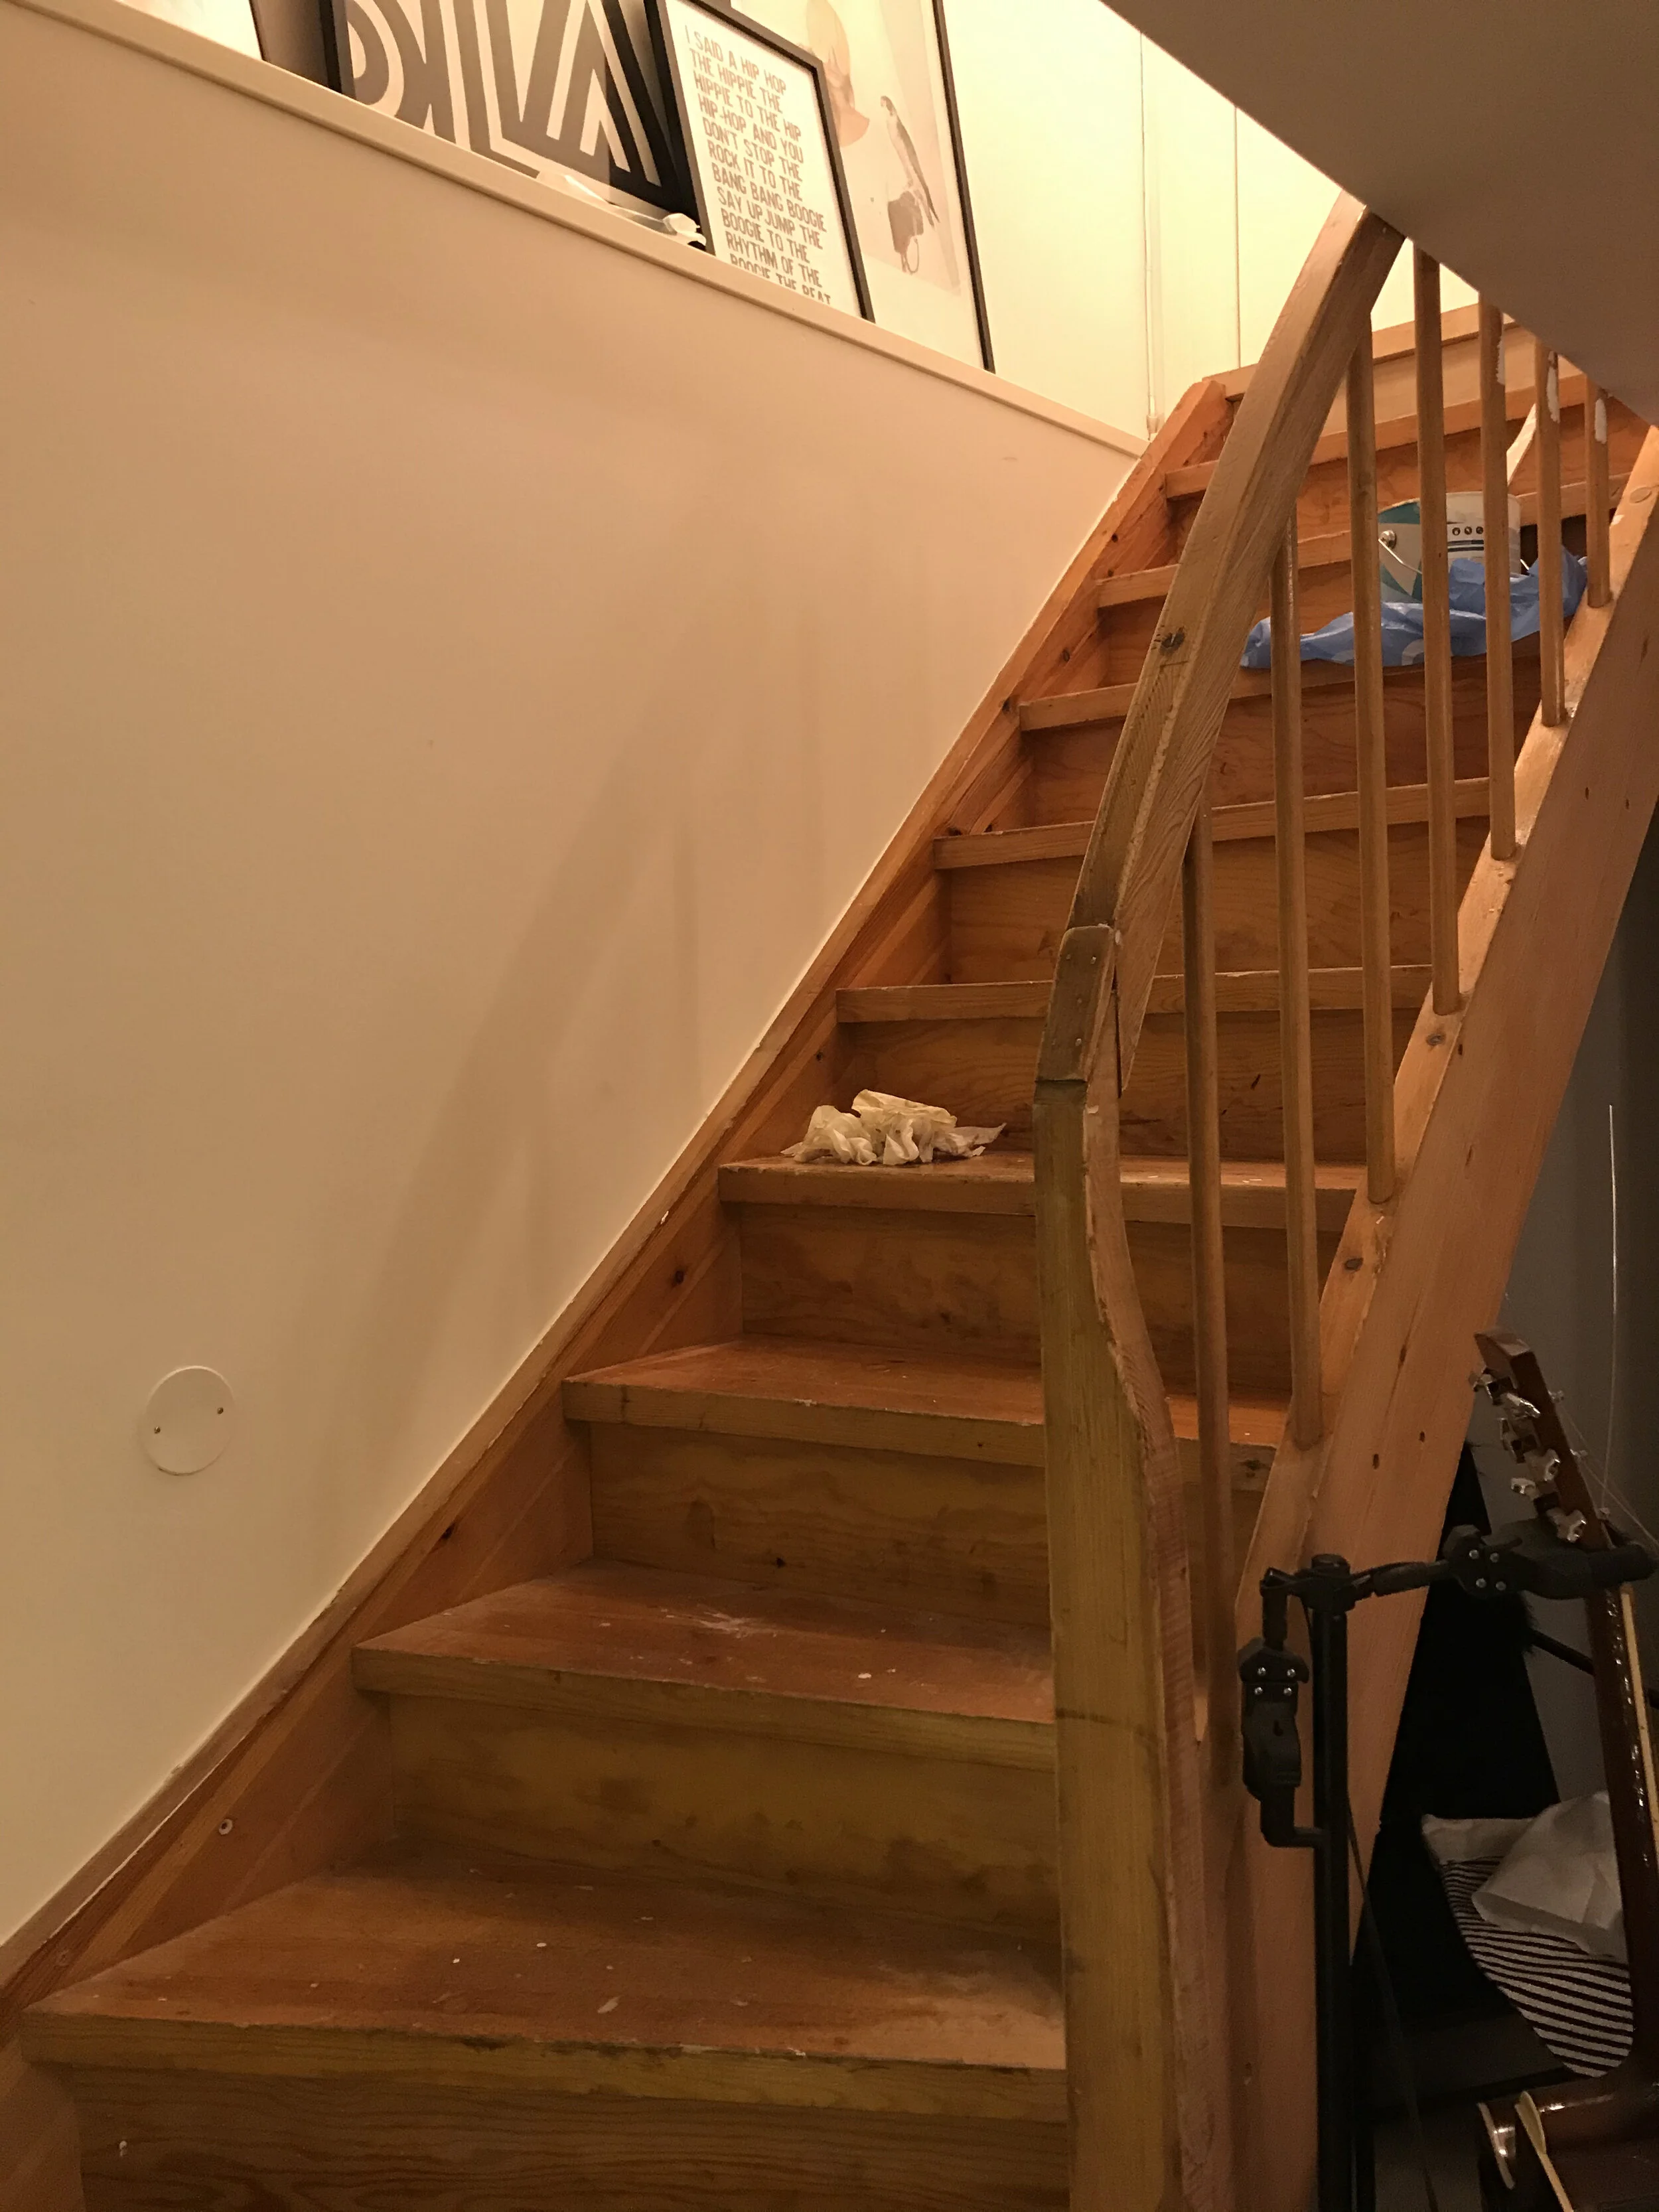
And back to the stairs. As you can see they’re a bit of an eye sore. They’re chipped and scratched and the old varnish gives them the ugliest yellow/orange hue. They needed some love. Badly.
By October I still hadn’t gathered the energy to sort them out. I had gone to a paint shop to ask for a bit of help on what to do with them - hoping they’d have some magic solution. Their advice was to sand them down, but I just couldn’t. So I did nothing. October came and went. No baby. He arrived on 8 November and I don’t know what happened to those last weeks of 2020. They just disappeared! By the start of January they started to bug me again so I got the sandpaper out. But four steps in, the mojo was gone. Sanding was an absolute pain in the arse. And soooo messy! And that was sanding by hand with a sandpaper block. I didn’t dare use the electric sander.
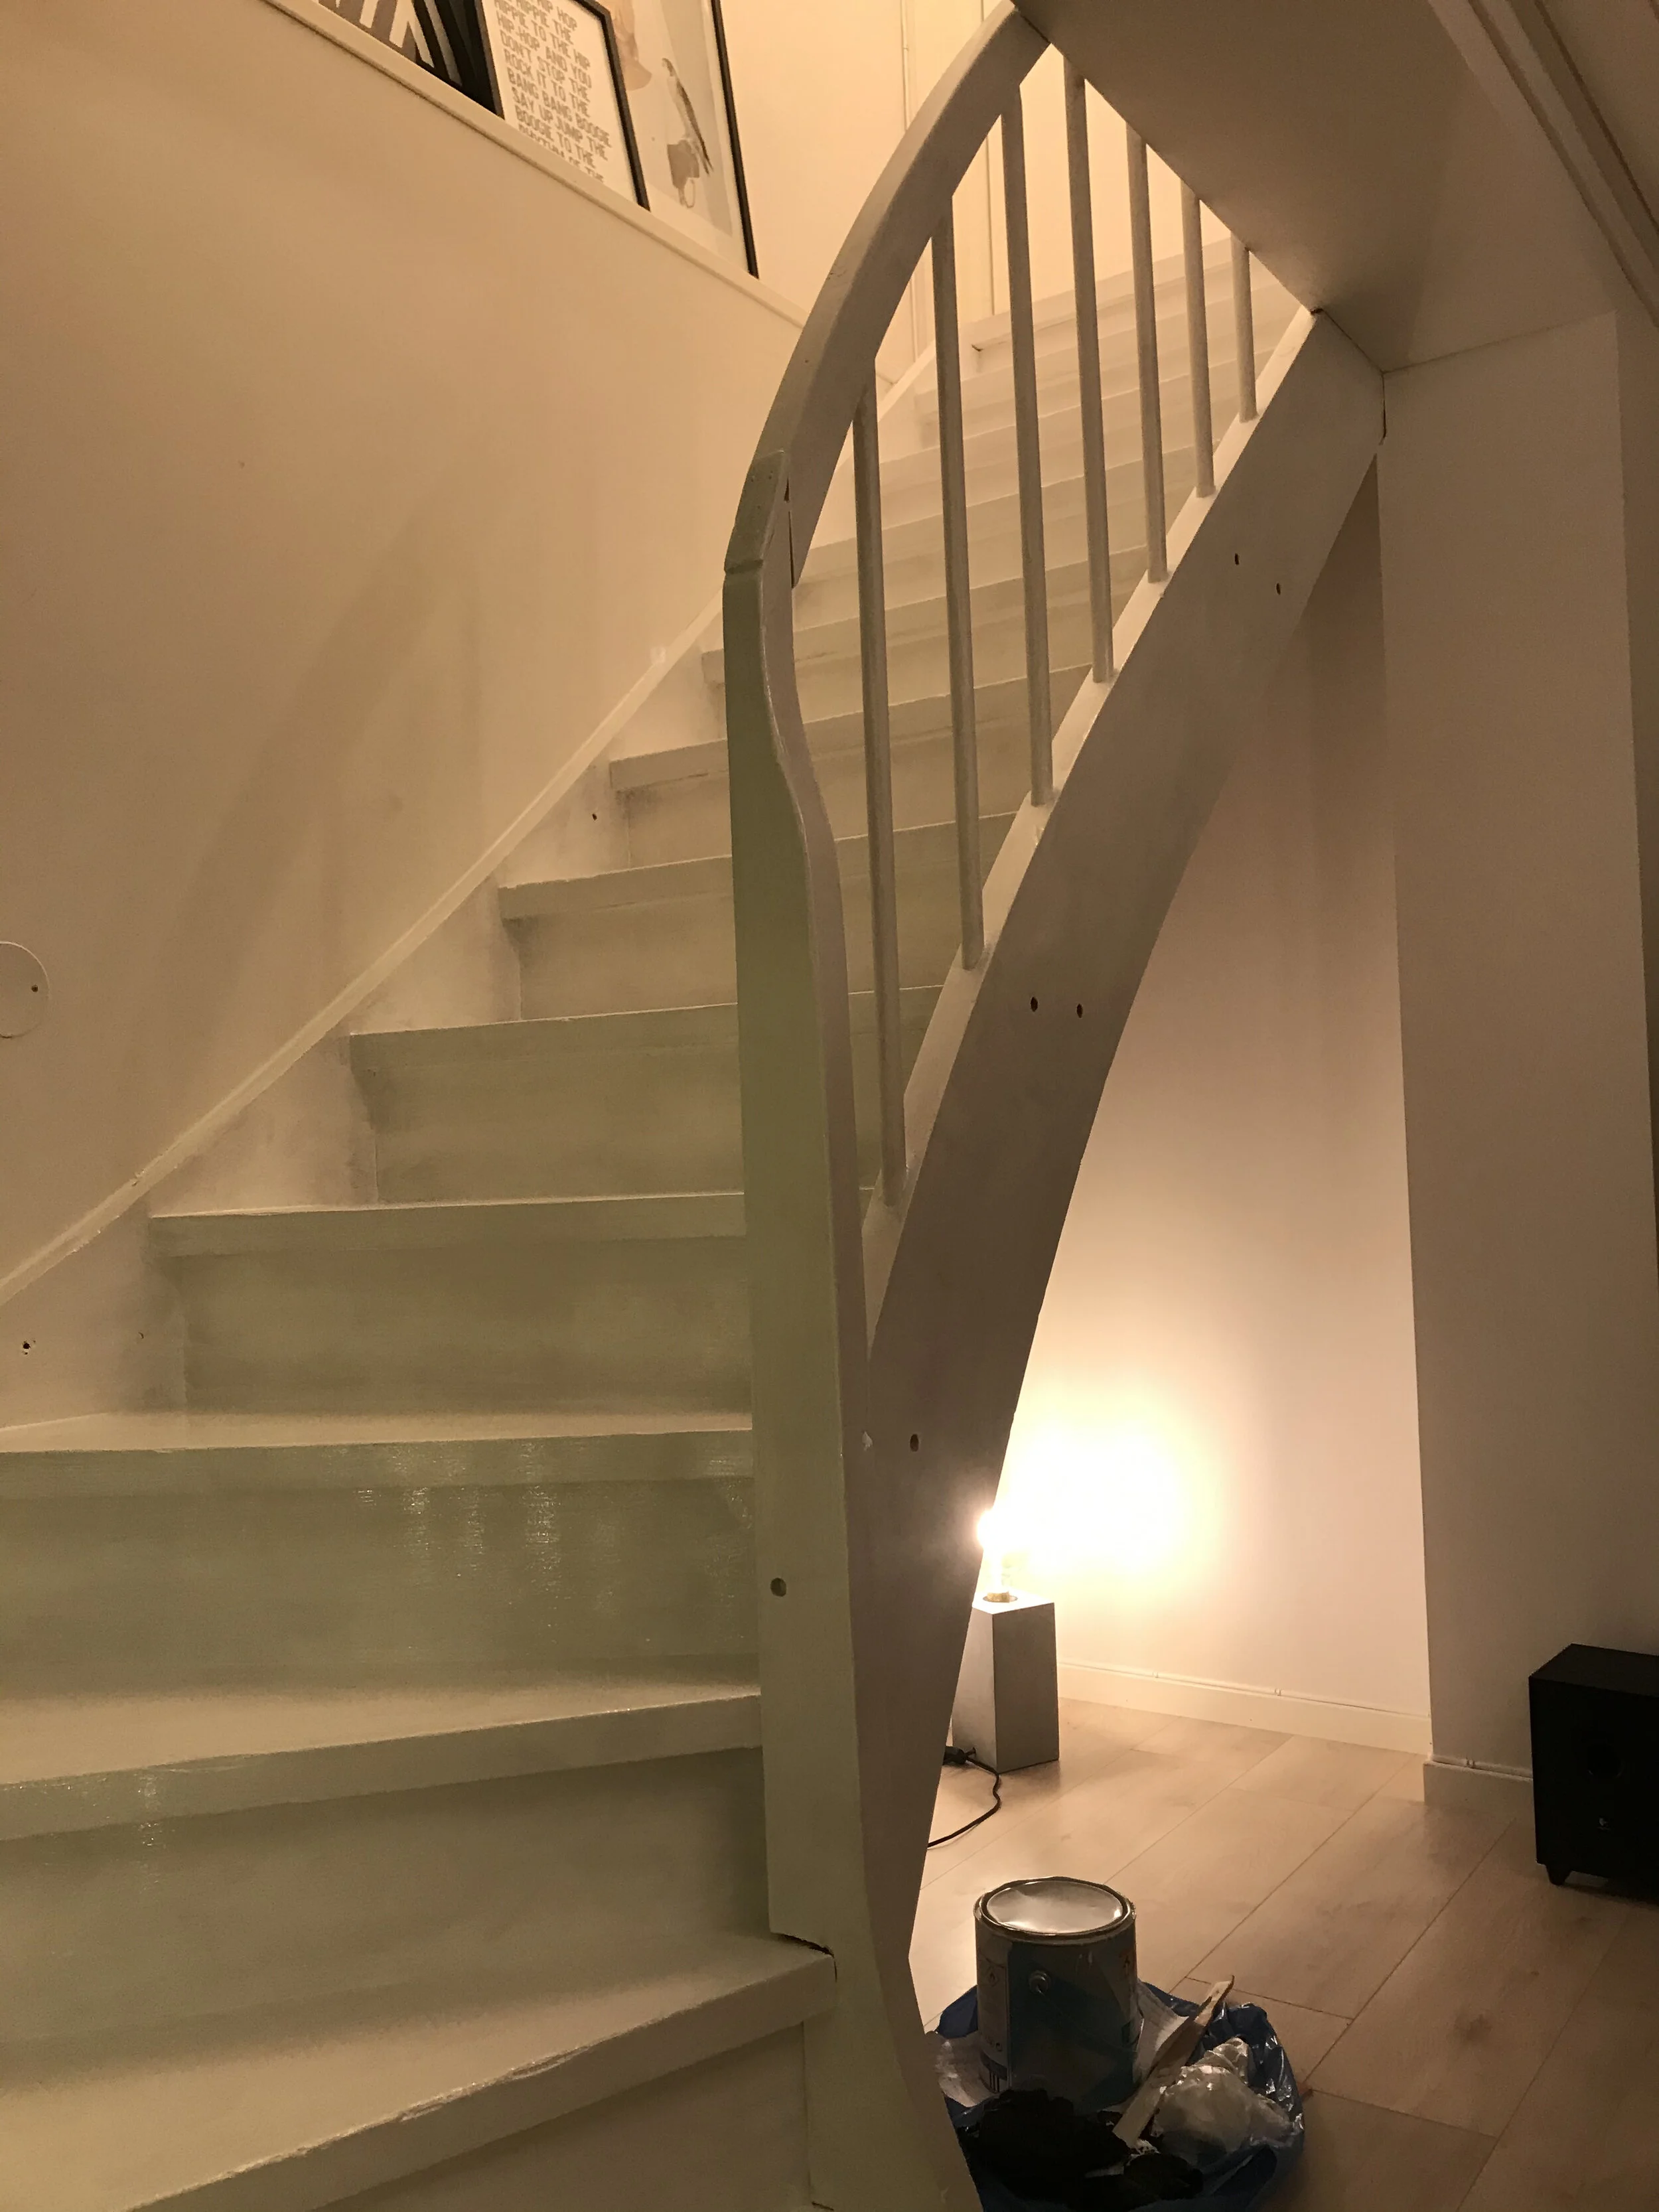
So I thought I’d experiment. I had painted over some tile-effect panelling in the little upstairs toilet a few months before and knew I had some heavy duty primer left over from that. Worth a try I thought. Weighing it up, I’d rather touch up chips on the stairs regularly, than sand every single step, top and under, every spindle and handrail.
So two coats of primer went on and the surface now had a dryness to it. Ready for the final stage. The paint I went for was a gorgeous toned down black in matte. Of course matte. I think black looks so much richer and velvety in matte. Love it. So two coats later, they were looking good. I’m delighted with them.
Some filling and touch ups to be done, then it’s just removing the tape (and scraping those two paint blobs off the floor!).
So I’m off now to pick up a rug and finally put one more tick on my to-do list.
AFTER: The rug arrived, it’s down, and we’re done…for now.

